Developer's Library: Deconstructing the Levels of the Super Mario Series
Mark Brown, an indie developer and editor at Pocket Gamer, discussed the unique level design of the Super Mario series in the Game Maker’s Toolkit video series. With the author's permission, we have prepared a text version of the material in Russian. We’re sharing it.

Games with user-generated content are excellent training grounds for aspiring game designers. Projects like LittleBigPlanet, simple level creation engines like Build, track editors in Trials, and mod editors for Skyrim allow anyone to dabble in design without needing to master Unity, Xcode, or similar tools.
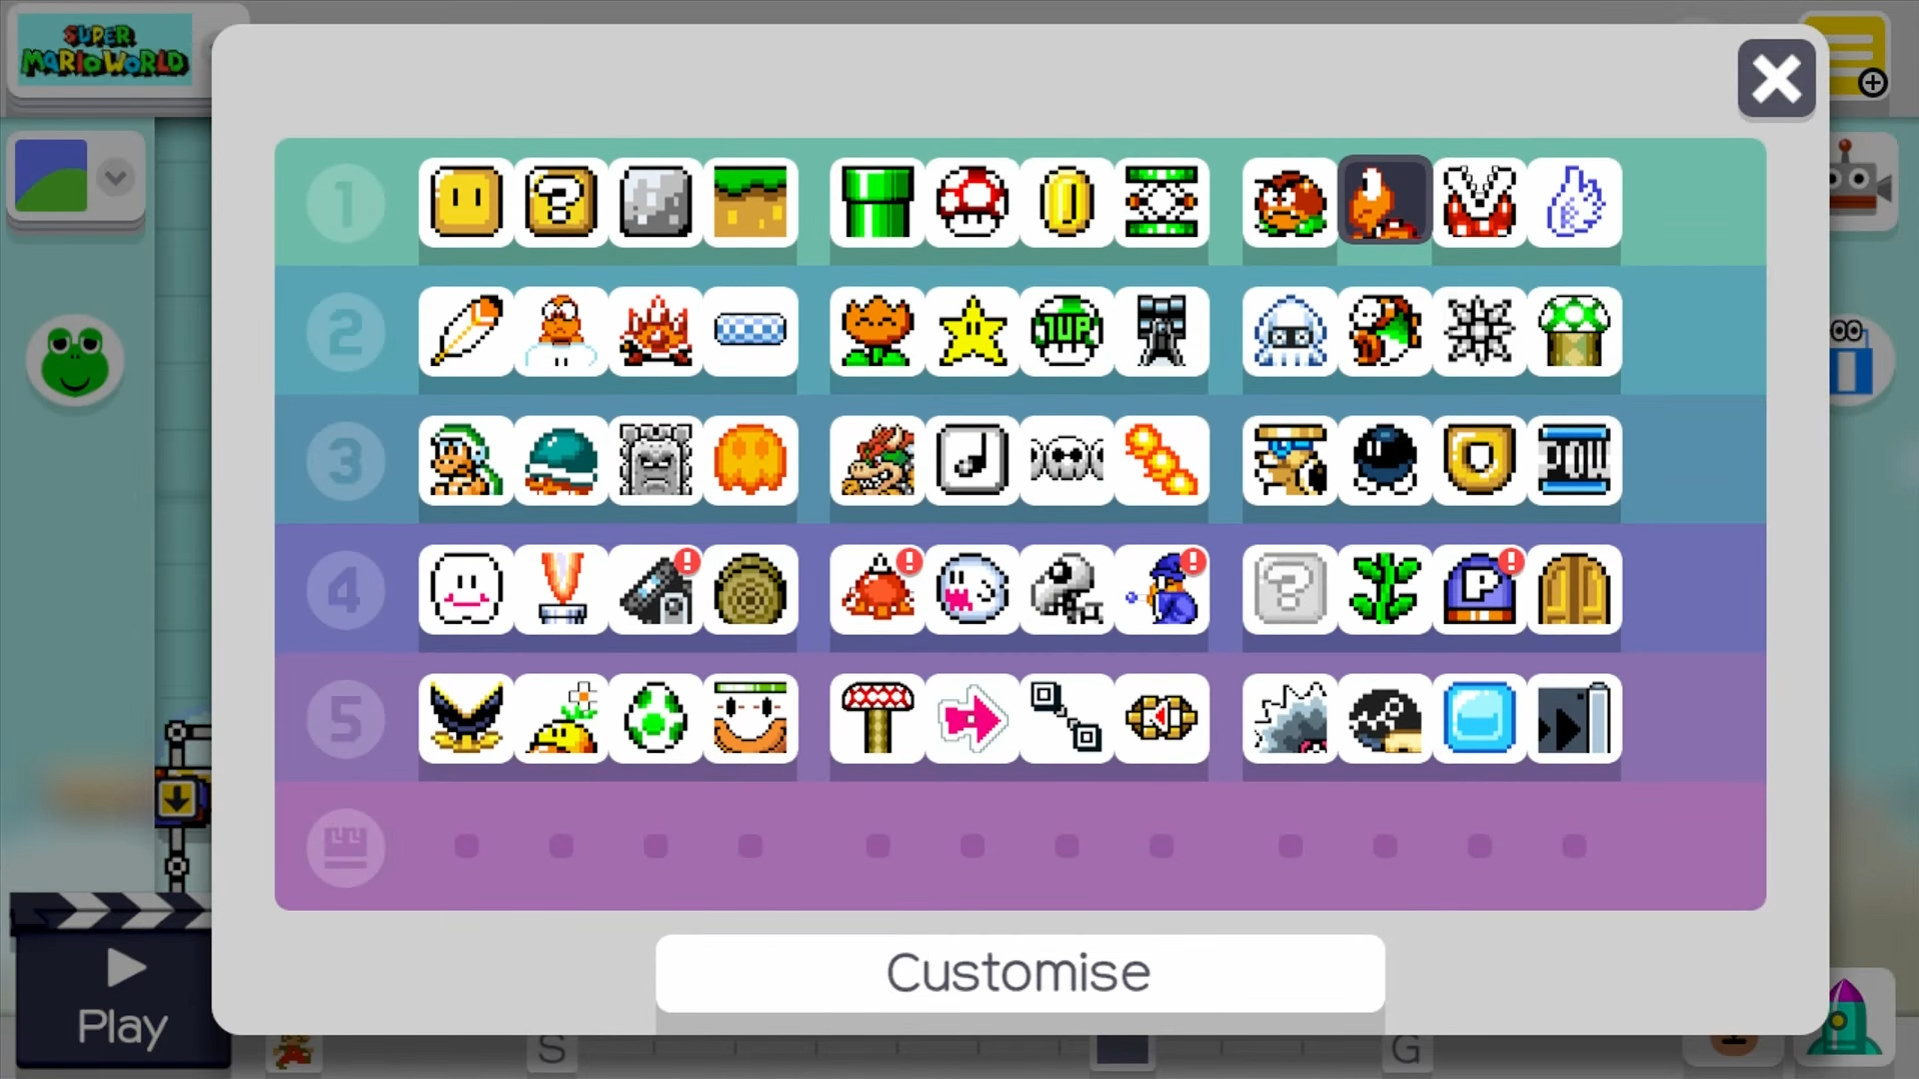
That's why I eagerly took on Super Mario Maker—a Wii game where you design levels for Mario. I didn't want to create silly or overly difficult levels; instead, I wanted to construct a decent location that embodied Nintendo's game design principles and matched the game's visual style.
But when faced with an empty screen and a box of goombas, pipes, and coins, I realized I had no idea where to start. Even after reviewing my own material on game design principles in Super Mario 3D World, I was still stuck.
Fortunately, one of the advantages of such editors is they come with a set of inspiring ideas and examples—namely, the game itself. Or, in the case of Super Mario Maker, four games: Super Mario Bros., Super Mario Bros. 3, Super Mario World, and New Super Mario Bros. U.
So I studied my favorite levels in each of these games to understand how they're structured, how they challenge the player, and how they surprise them, checking if there were any ideas I could borrow for my own levels.
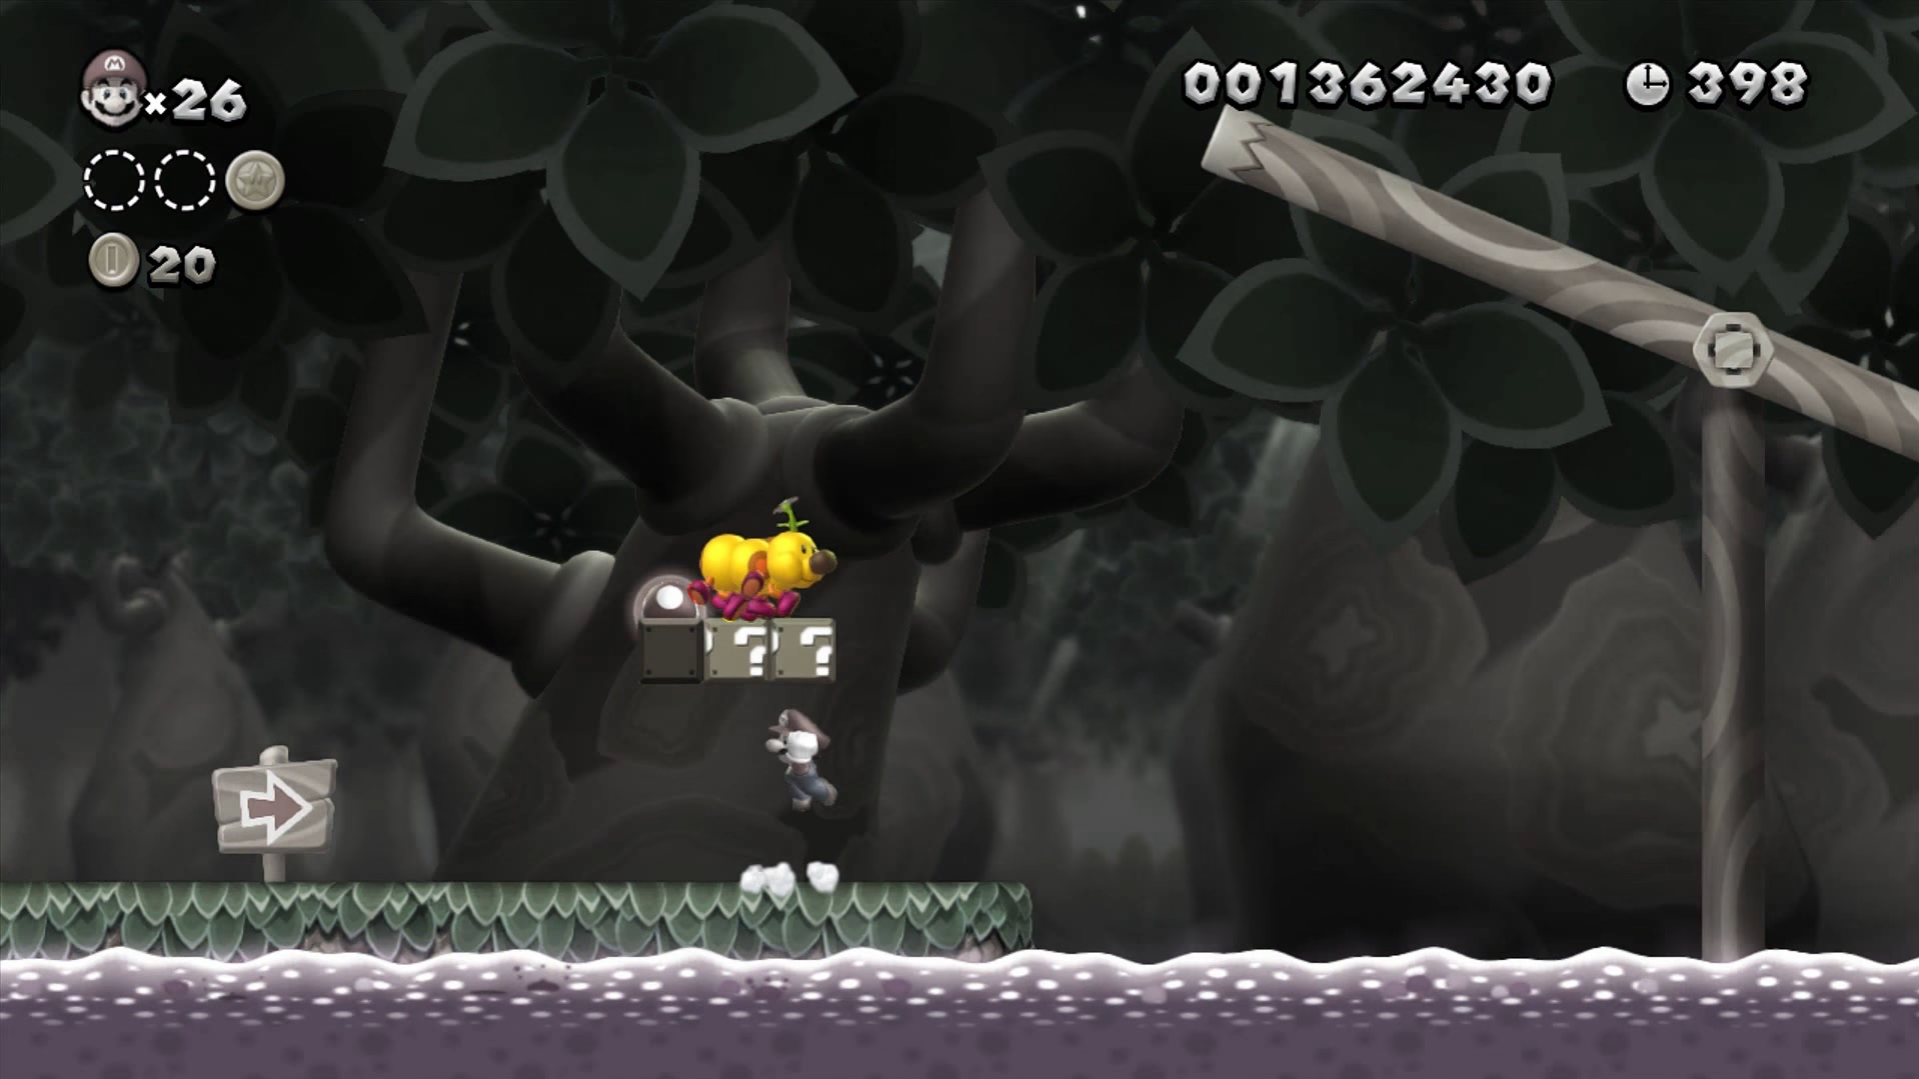
Let's start with New Super Mario Bros. U and the "Seesaw Bridge" level, which is located in the Soda Jungle.
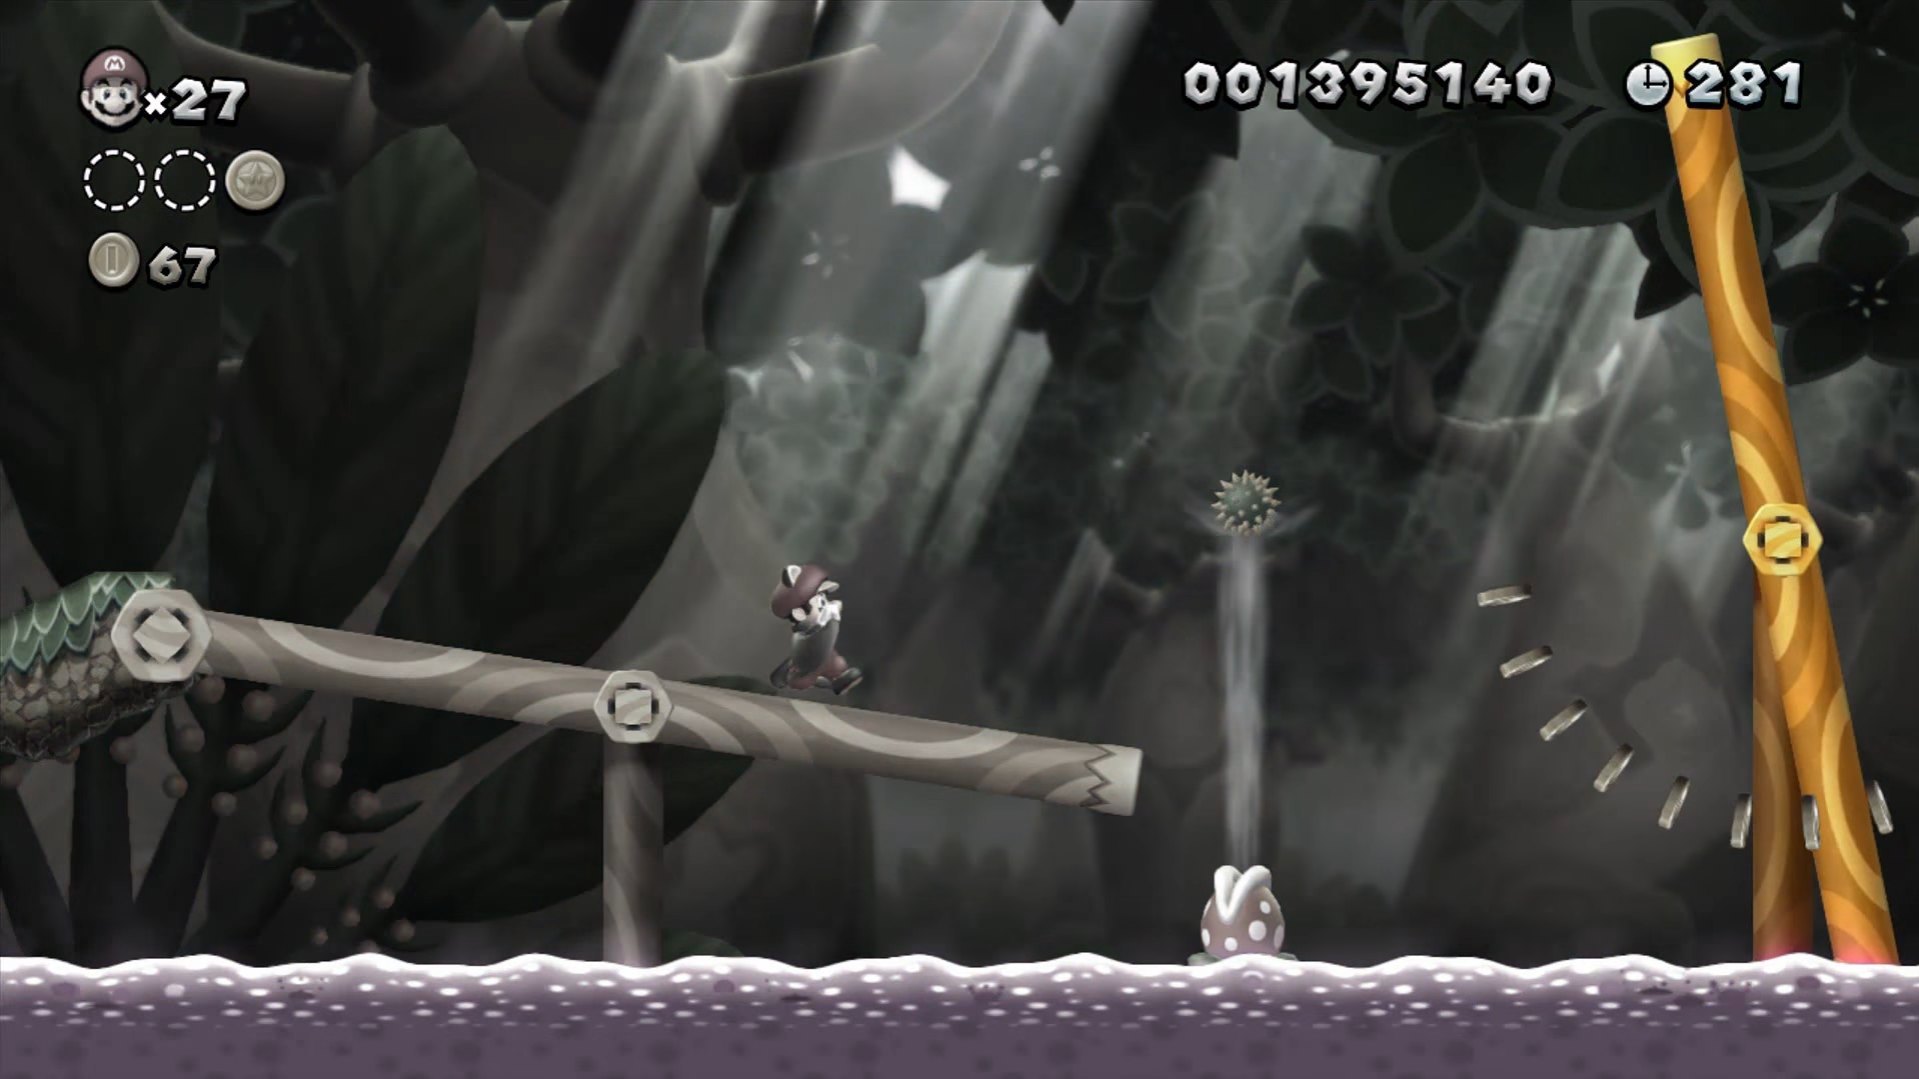
The first thing you notice is something rather odd. A wiggler is pacing across the blocks—this caterpillar-like creature from the Mario series poses no threat. The most you can do is kill it. Is this an easy win right at the start of a tricky location?
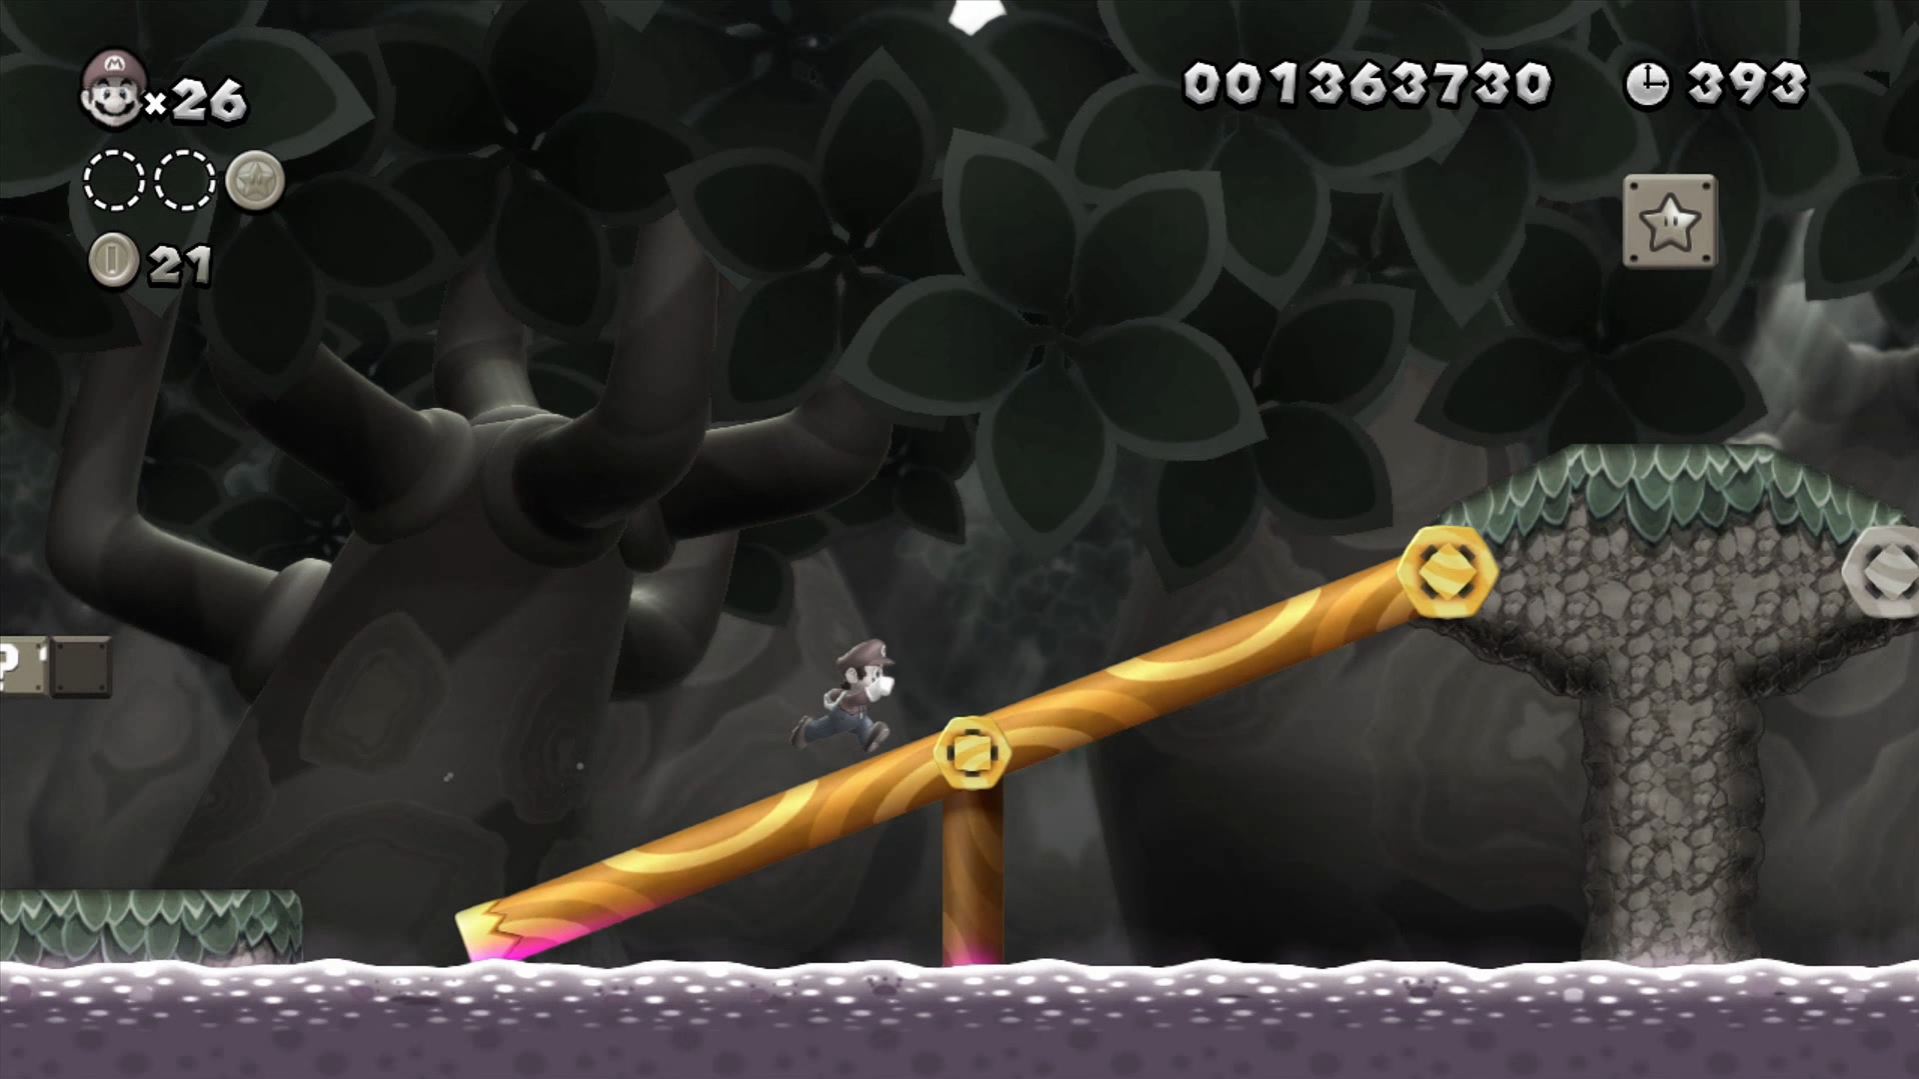
Soon after, we're introduced to the level's main mechanic. The player needs to cross a bridge that tilts up and down on its own. It is initially intimidating, but there's no real danger here: the edge of the bridge doesn't dip into the water, so Mario is safe wherever he stands. All it takes to climb the bridge is a small jump.
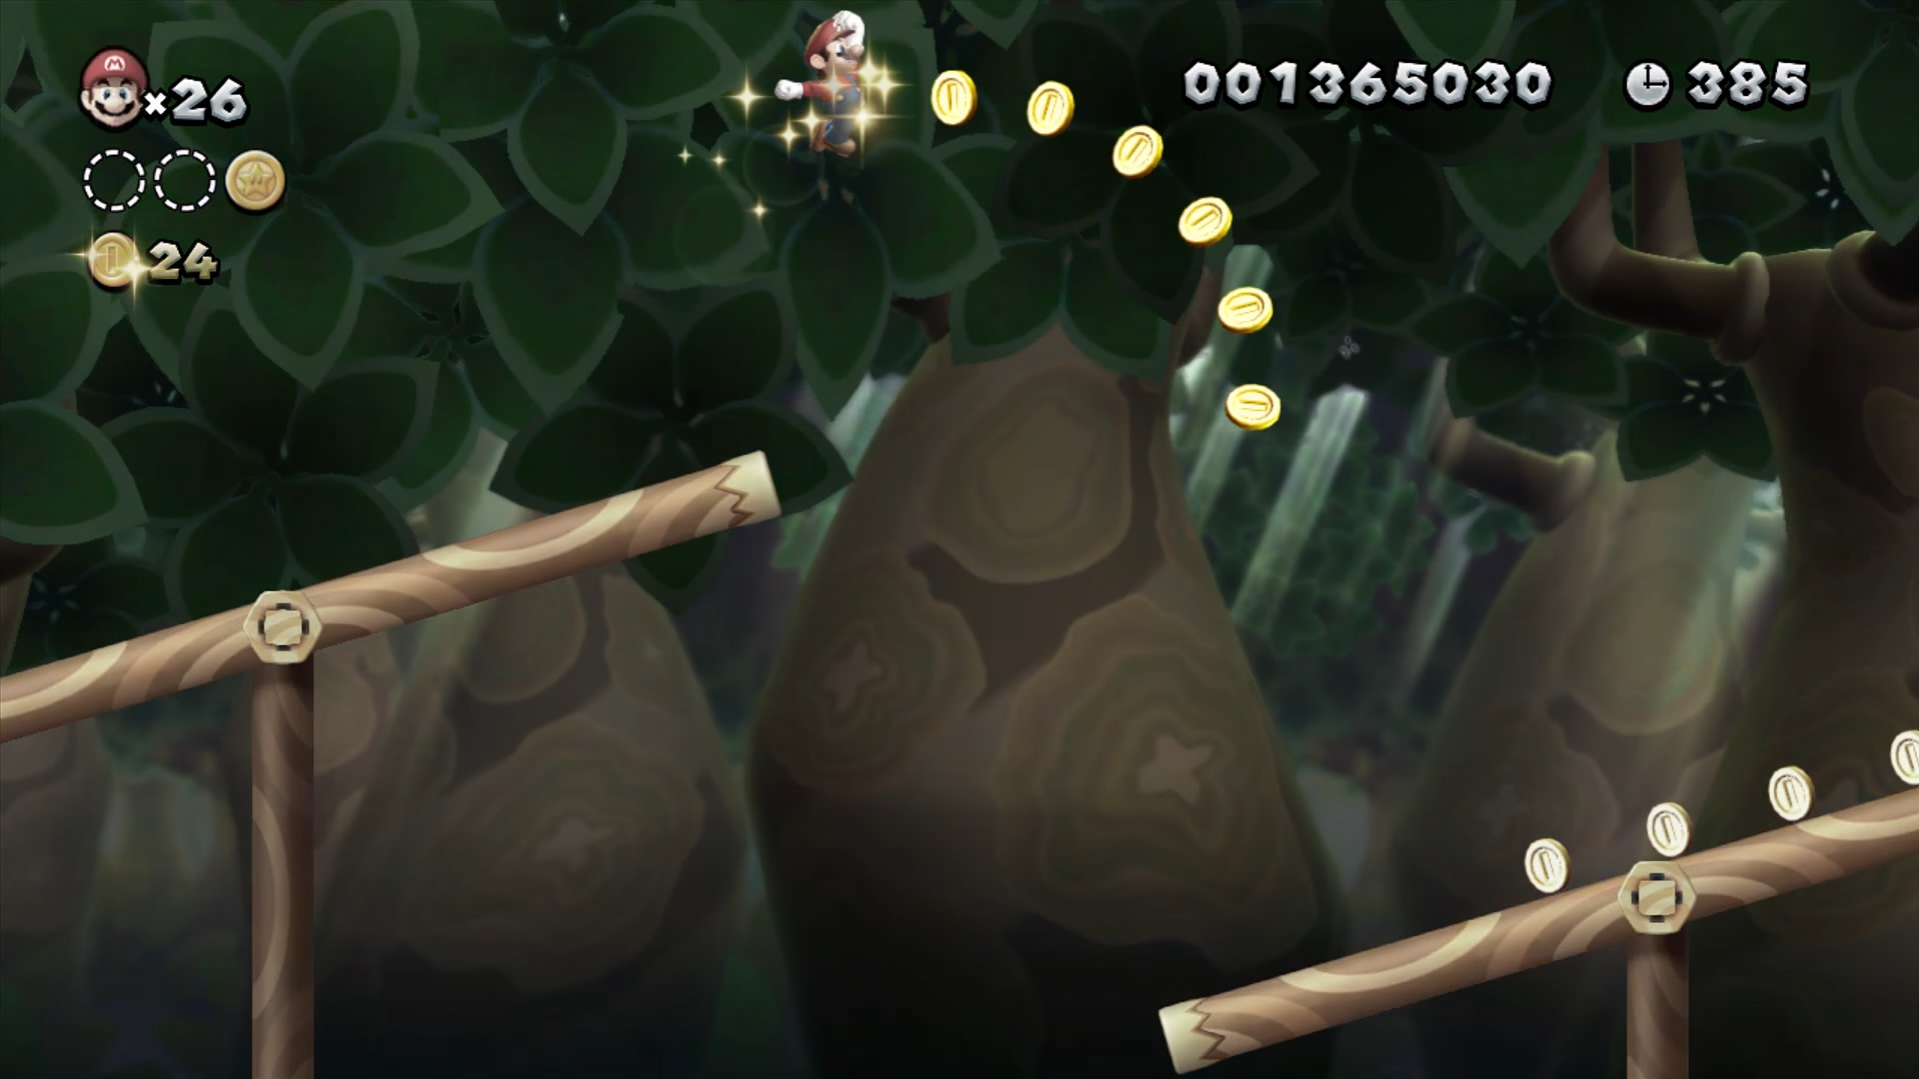
Then, we're given a power-up and need to make a bigger jump to leap from bridge to bridge. A coin arc shows where it's best to do this.
Next, you encounter some Koopa Troopas—these turtle-like creatures in the Mario series are pretty harmless here. Experienced Mario players will surely jump on a turtle and send its shell forward to take care of the second Koopa. The level is designed so that the shell will also knock down three wigglers.
After this, you'll likely notice an inadequately hidden pipe.
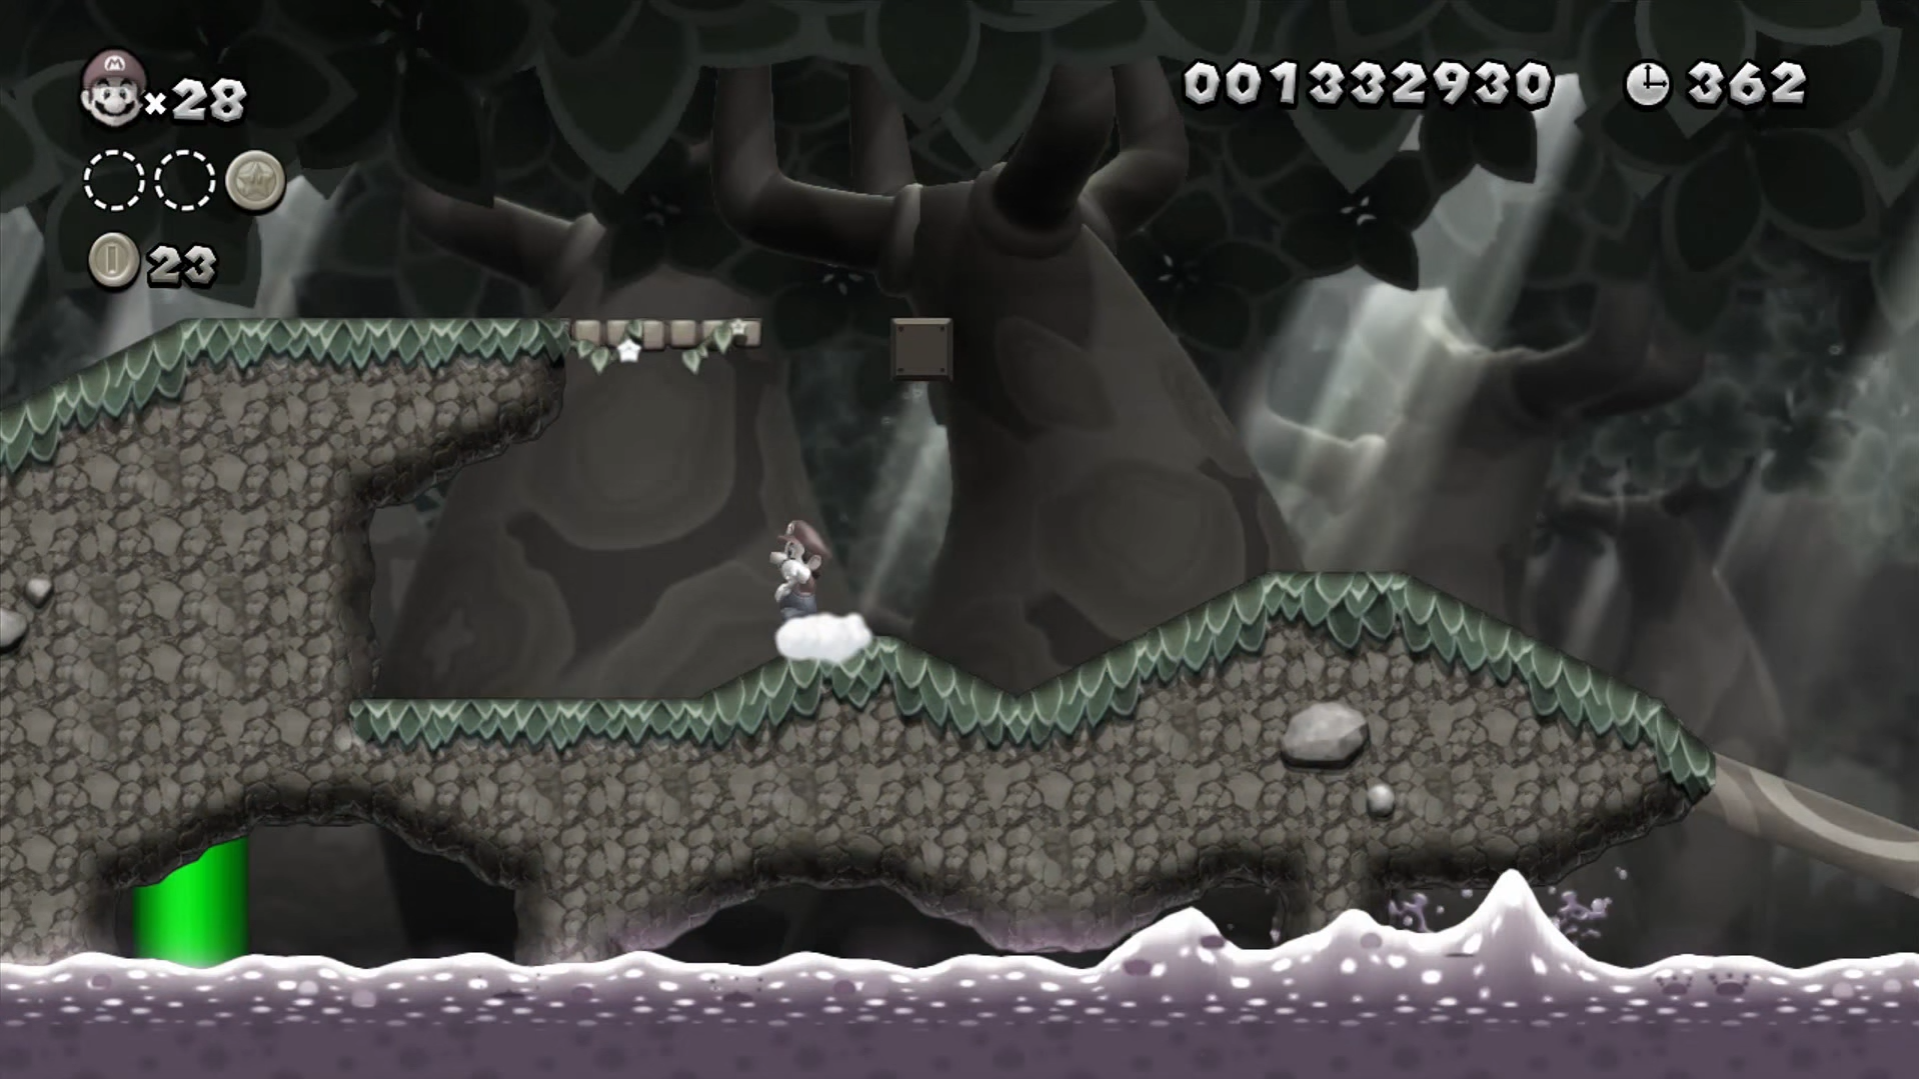
Through it, you can enter a location with an additional bonus—a large coin. To get this, you'll have to work for it: the mechanic involved here is one the player is not familiar with yet. This area is for advanced players.
Back on top, we find that the challenge of the seesaw bridges has increased. You have to jump over a much larger gap. The log's edge now dips into poisonous water, and a "snatcher" enemy appears for the first time—an enemy that periodically shows up between platforms, forcing the player to consider not only flight distance and landing spot but also timing.
Then there's another jump, and we encounter another snatcher. This time, wigglers are on the opposite edge of the pit. To proceed, you need to bounce off their backs, adding a twist to the usual jumping mechanic.
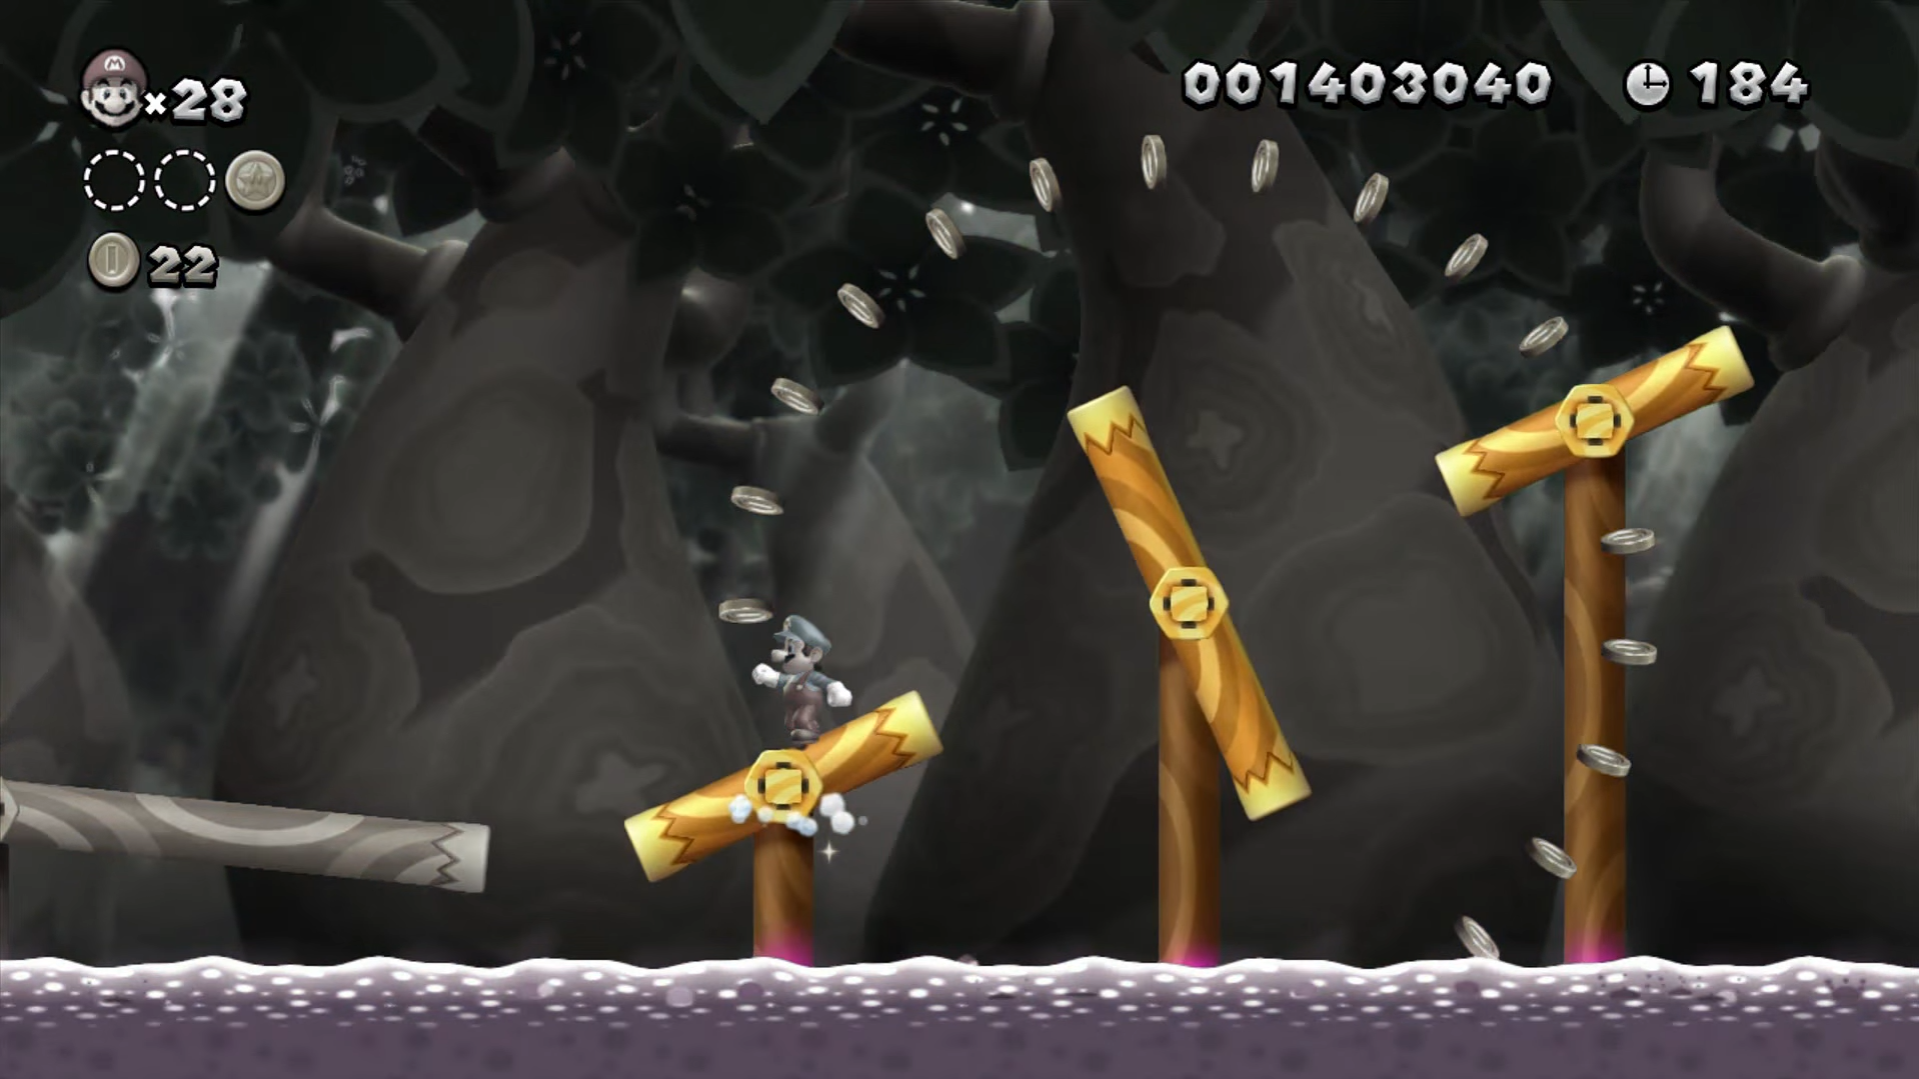
Things get really tough further on. The player sees bridges that are only fixed at one point and rotate 360 degrees. Plus, they move asynchronously, so you can't just wait for them to line up. To survive, the player will have to jump well.
This part has an interesting moment. Mario games often require creative approaches. Above one of the rotating bridges, there's a mushroom that grants an extra life. You can play it safe and ignore the bonus, or take the risk and try to get it. The choice is yours.
The section immediately following this seems dangerous, but it's actually very easy. After all, Mario creators want the player to have fun, and moments like these put a smile on your face. Additionally, it's hard to make a mistake here, as the enemies are placed so that almost any player will want to throw a Koopa shell at a Wiggler—and this segment is then overcome without trouble.
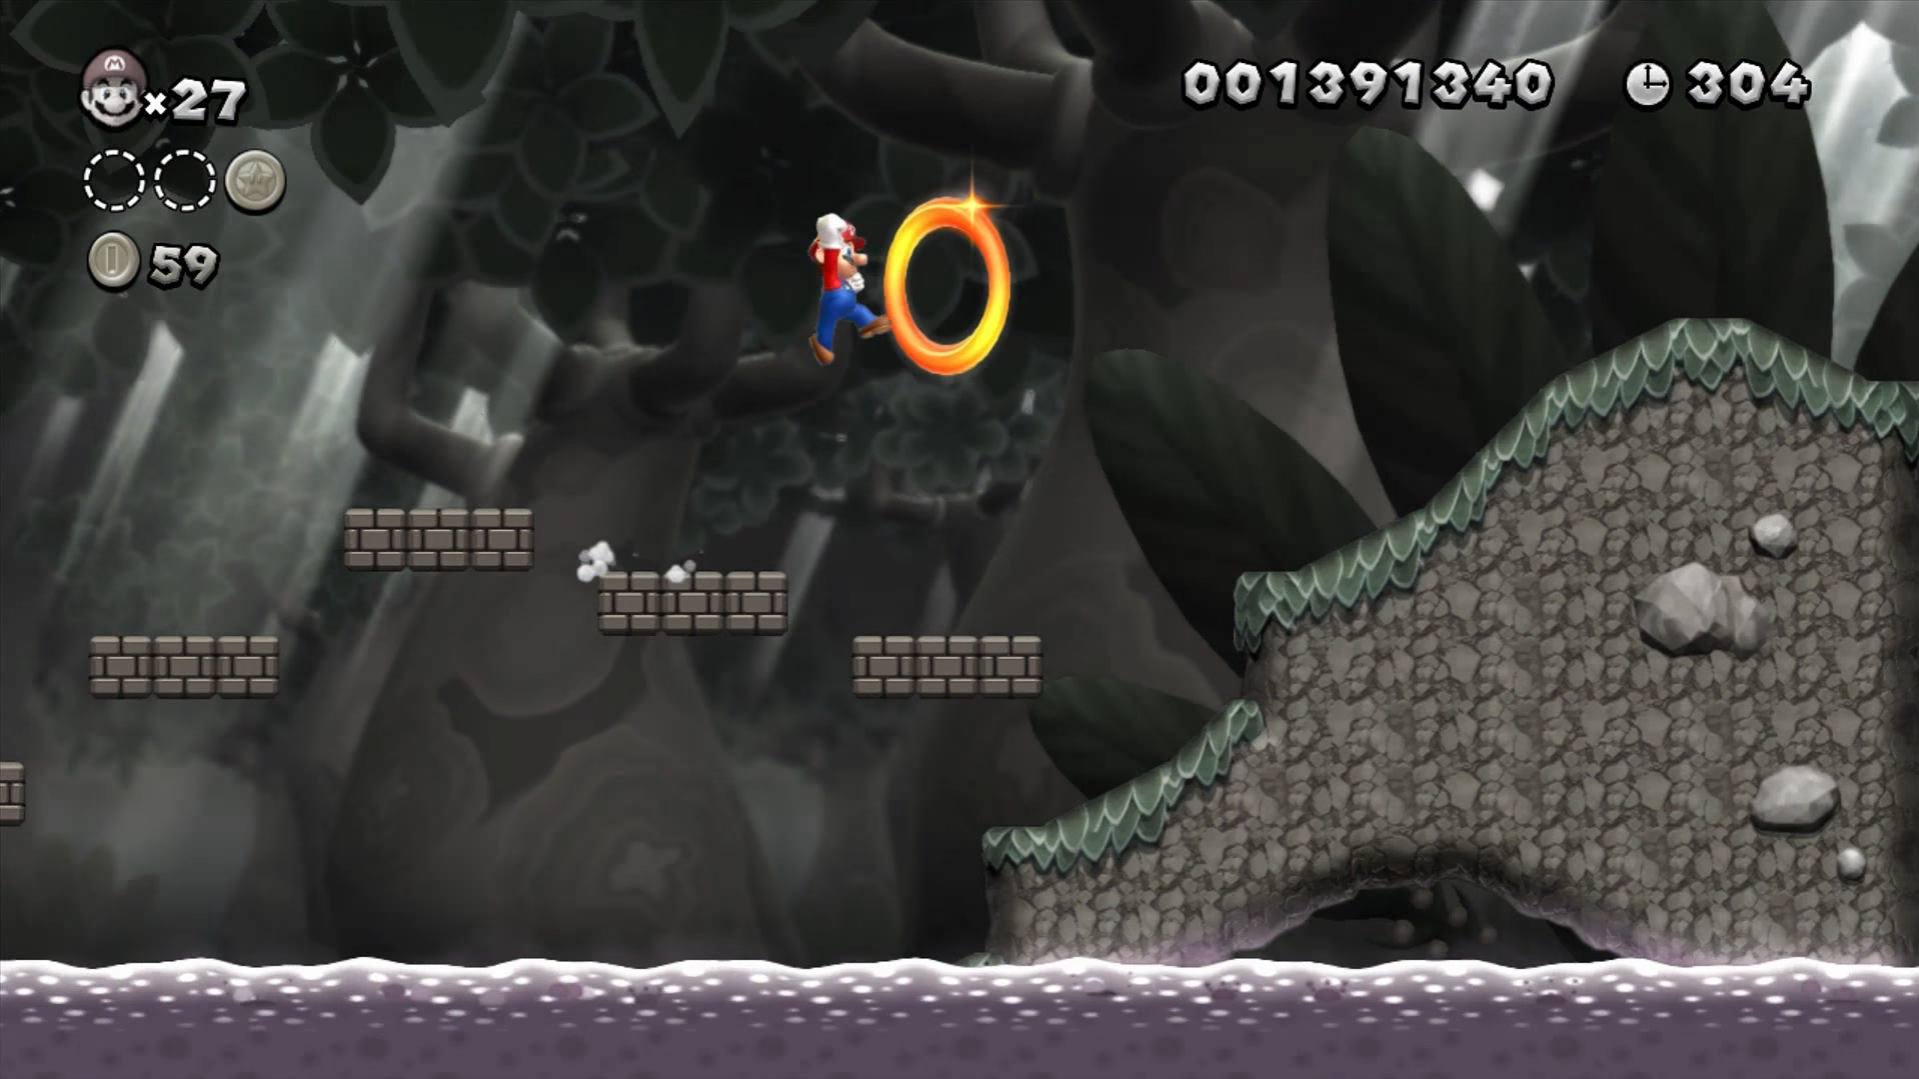
Next, the player encounters a red ring. Collecting them brings up disappearing coins, pushing the player to move quickly. This is important because Mario is most fun played at high speed. Often, from a common-sense point of view, it's better to play slowly and steadily, but these short speed segments add some spice to the game.
The following section features a rotating bridge so long that you can't catch it in the middle of its rotation cycle, unlike the previous ones. However, some players might be foolish enough to jump on the bridge right away because of the enticing coins above it—and succeed in the segment without much waiting.
The game's difficulty is raised by increasing the distance between safe zones.
Red zones indicate where Mario might fall into the water, while green zones mark safety. As players progress, segments requiring quick thinking and immediate reactions grow longer.
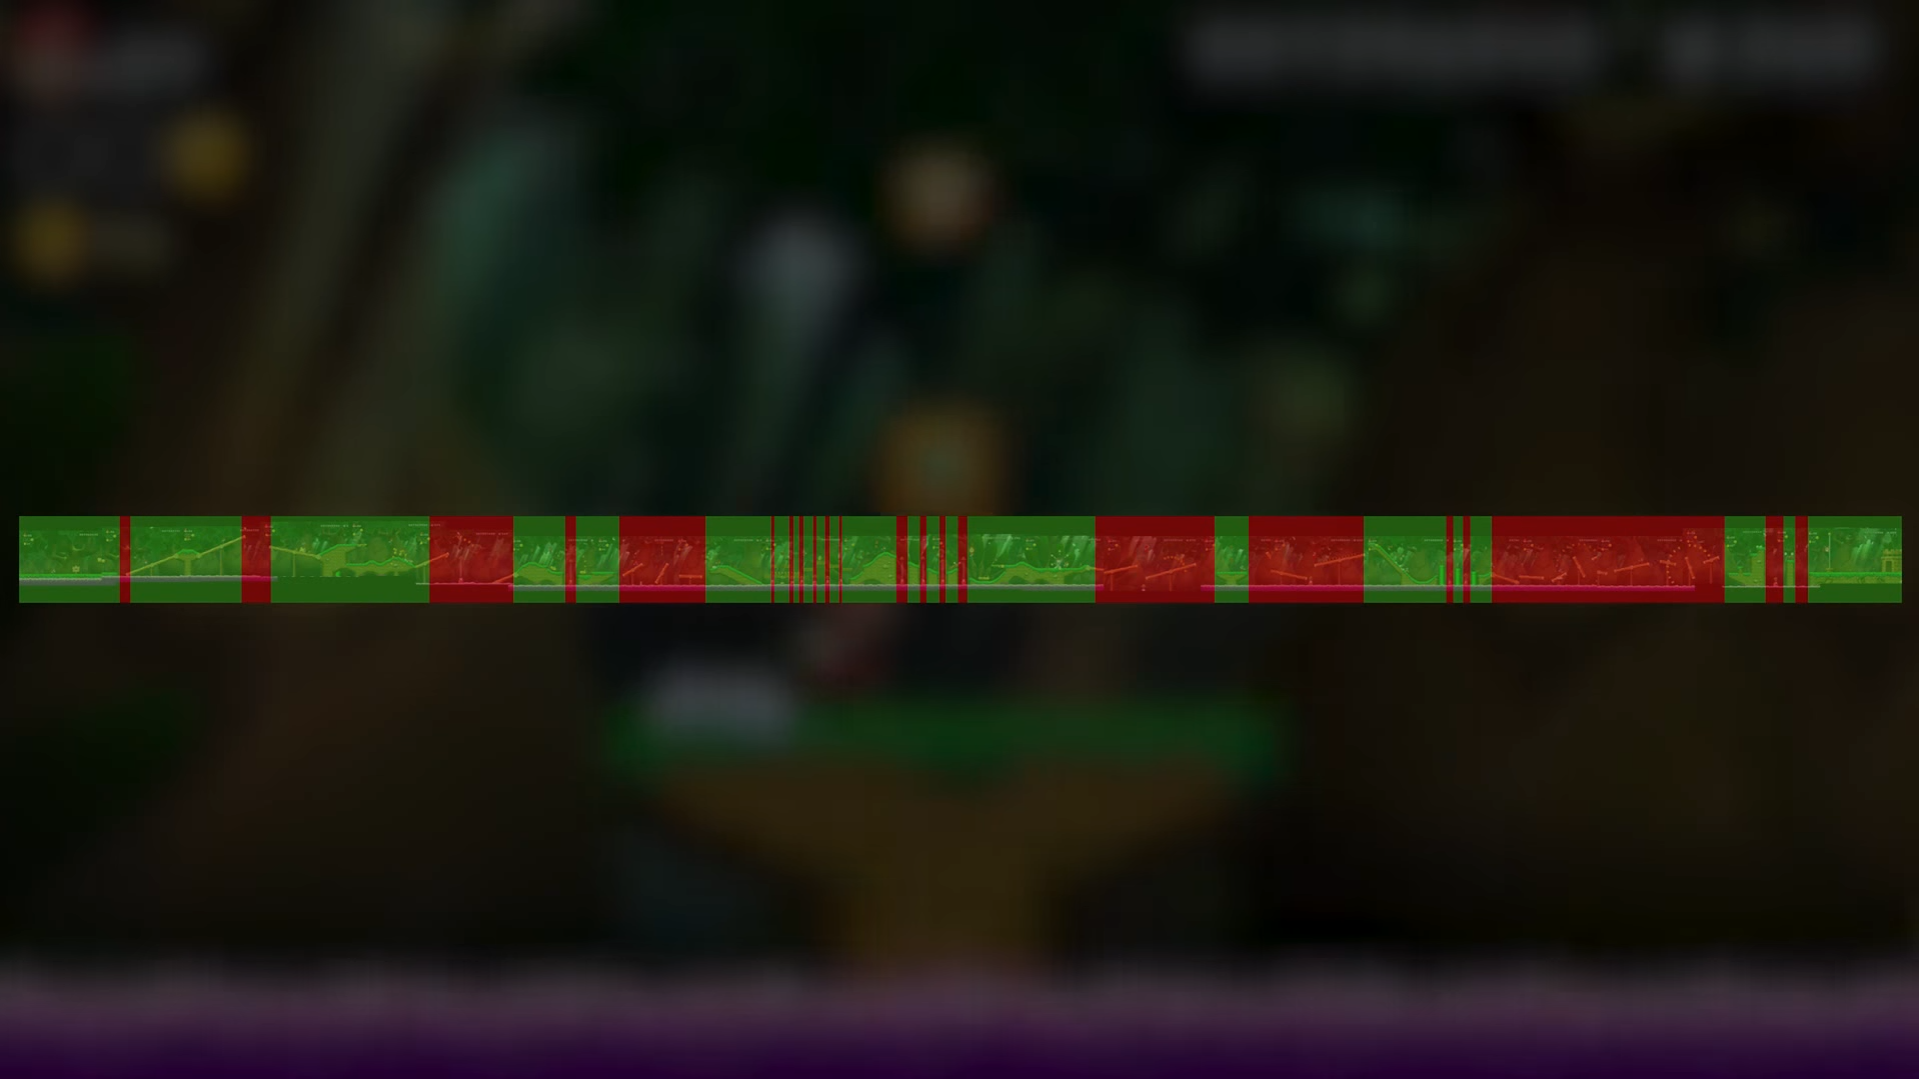
For instance, there's a section where the safe zone isn't even visible. You just have to keep moving forward and adapt to the situation. However, finish this segment, and you're rewarded with a quick and easy win over three Koopas.
Finally, the player faces a final challenge: many rotating bridges—a variety not seen before. The distance to the nearest safe zone is far.
Everything ends with a callback to the level's start: the player sees a Wiggler that poses no threat but is irresistible to kill.
Super Mario Bros. 3 has many cool moments, but one particularly memorable instance is when they trolled me. They played a joke.
I'm talking about level 4-6 in Giant Land. It's primarily built around a single trick: the player can change enemy sizes from giant to normal and back by entering magical doors. It doesn't significantly affect gameplay but allows for experimentation.
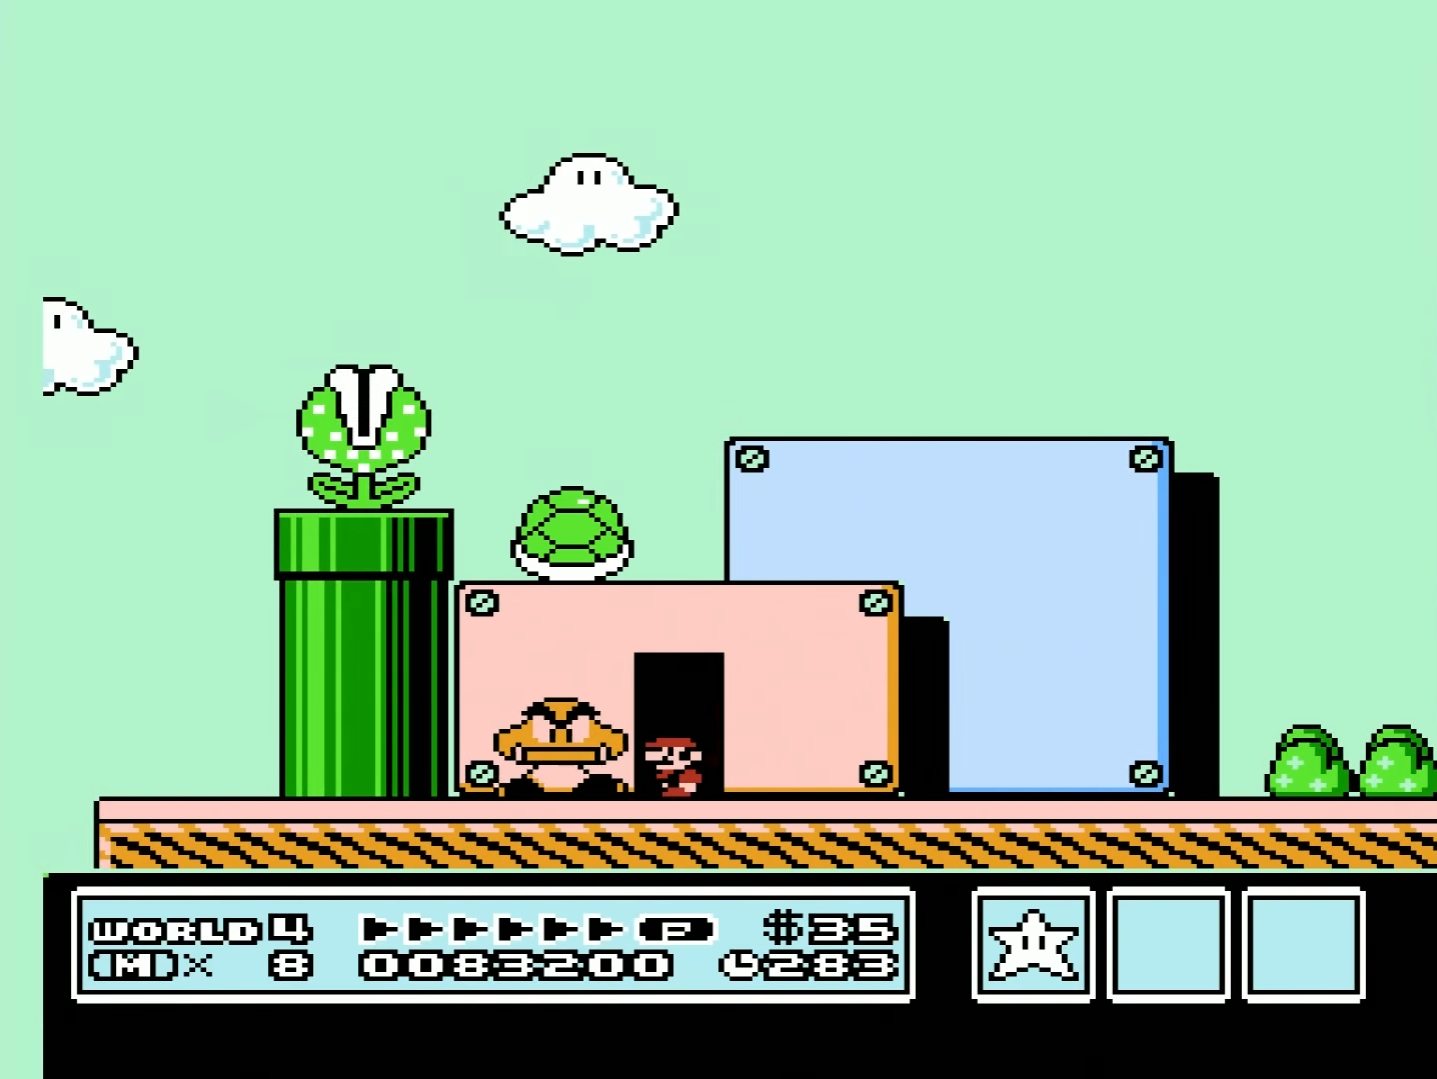
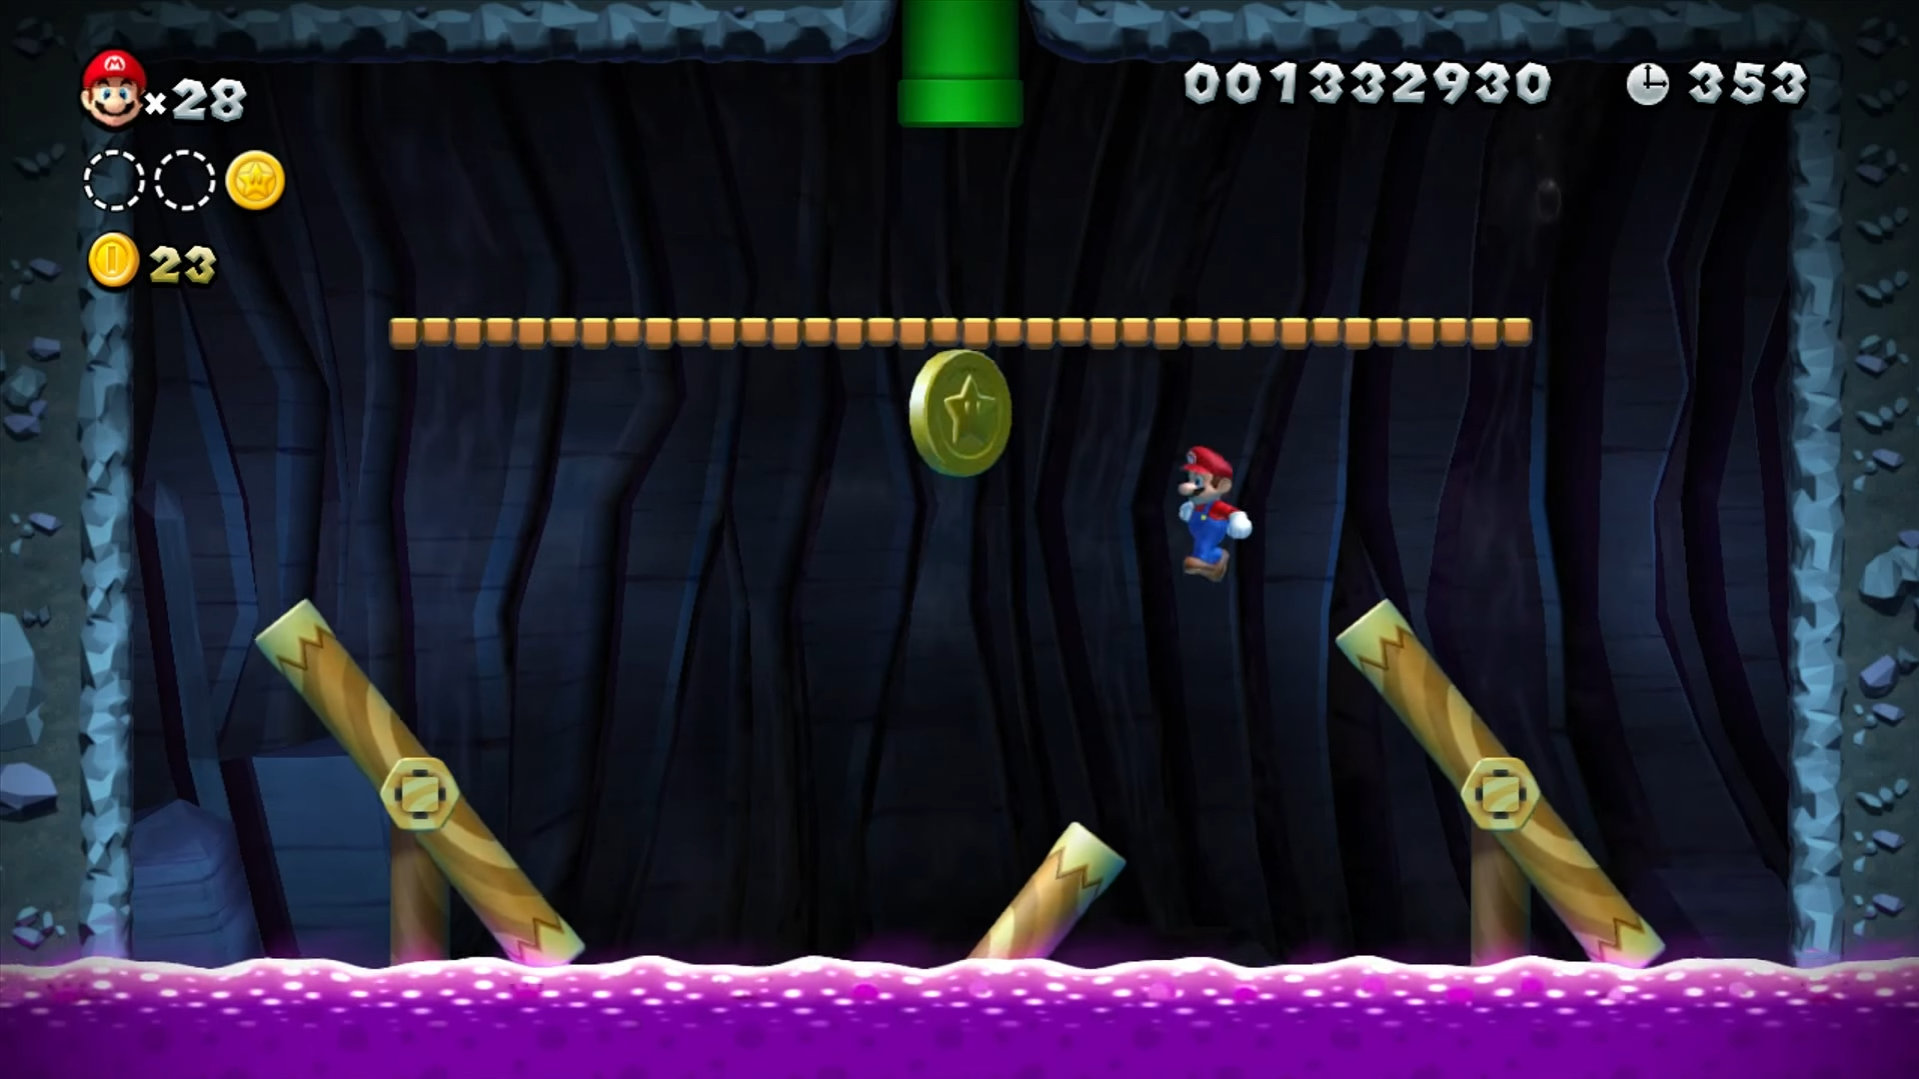
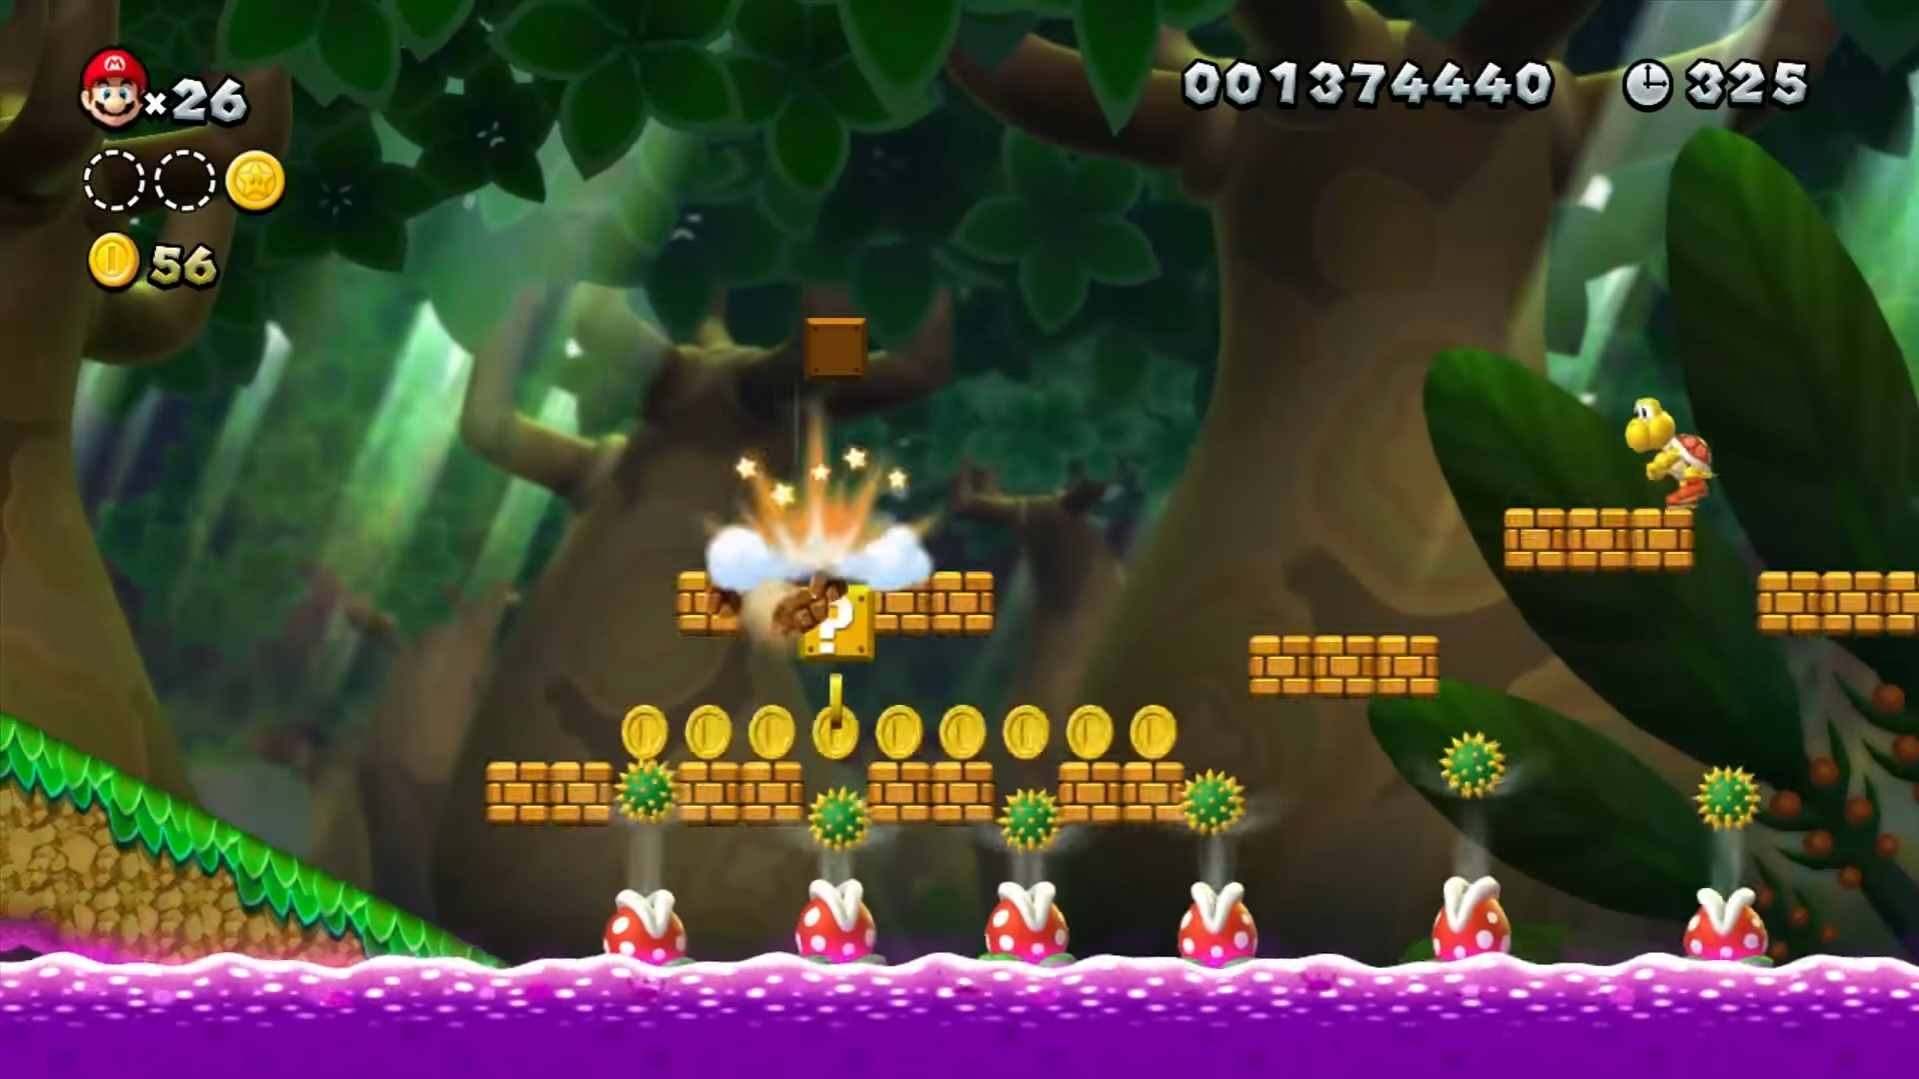
Now, for the joke. At one point, the player jumps over a Koopa and hits a wall. From the impact, a star pops out. For those who don't know, this makes Mario invincible for a short time, allowing him to instantly kill any enemy he touches.
You get the power-up, run forward, and destroy enemies. You decide to finish off another Koopa traveling between two pipes in this lethal mode. But when you try to escape this pipe interval, a hidden coin block emerges above, followed by another, and from the third, a 1-Up mushroom appears. But you'll likely miss catching it. And by then, the power-up effect will have worn off, so quickly dealing with the next Koopa pair won't be possible.
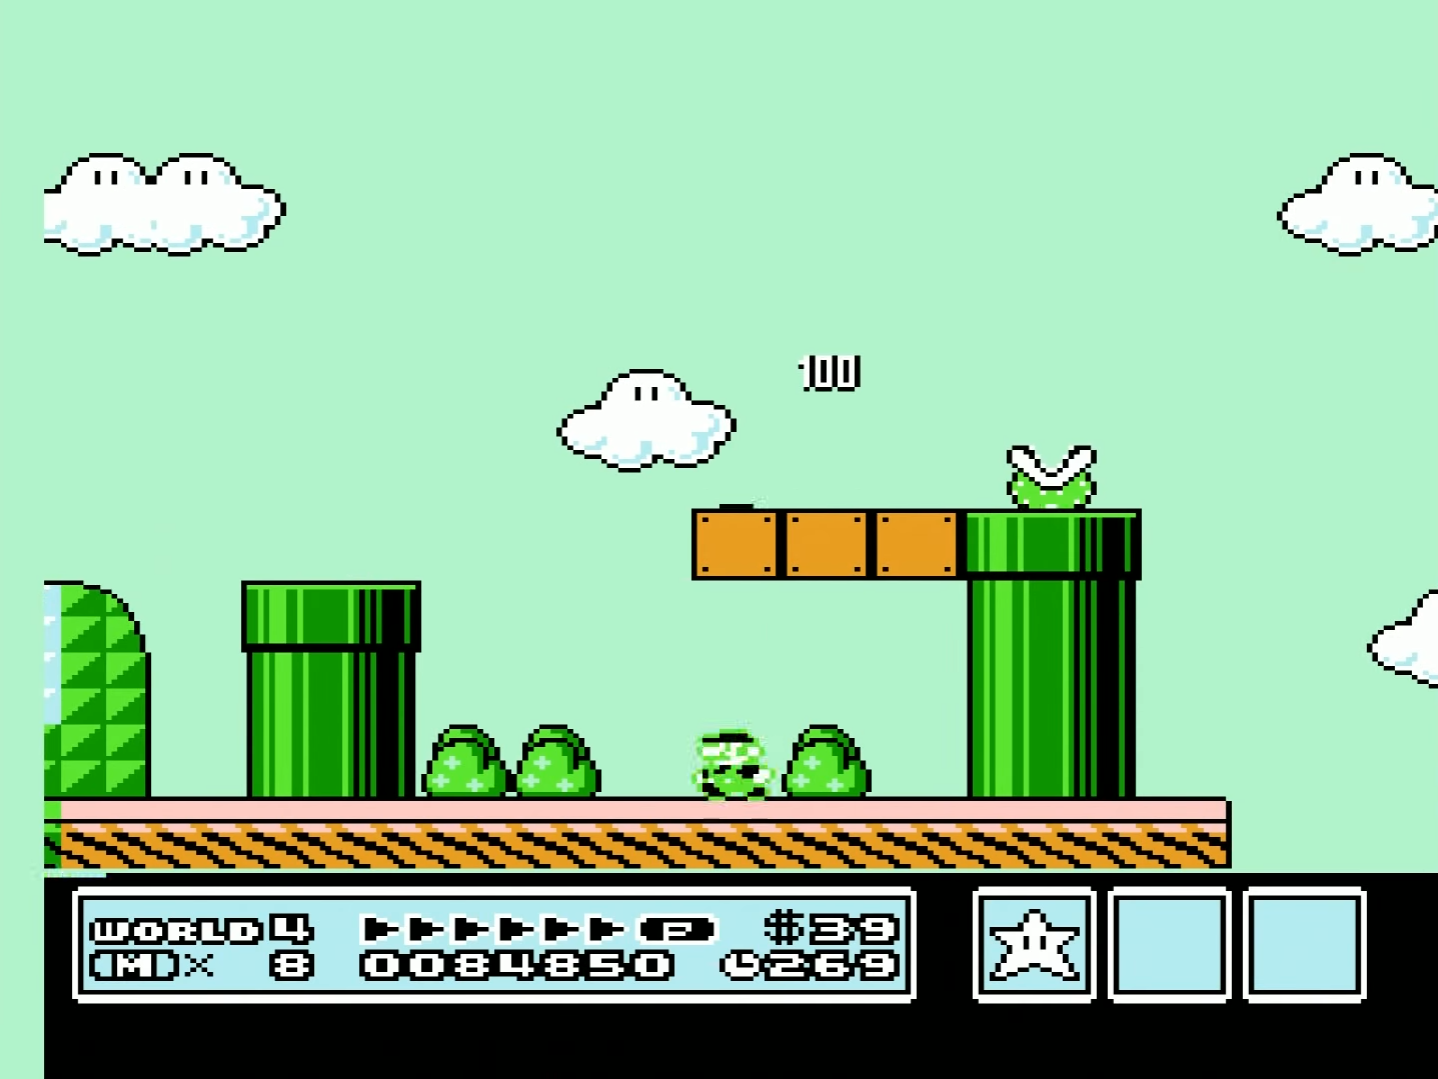
A bit of a surprise, a developer's joke on the player.
The rest of the path isn't particularly noteworthy. A few tricky jumps—a reminder that Koopas, while not particularly tough foes, can add a timing element to even the simplest jumping segments with their predictable behavior.
In Super Mario World, we'll examine Chocolate Island 3, which features an advanced mechanic of something we saw much earlier in Donut Plains 3. This time, the rotating platform has only one band.
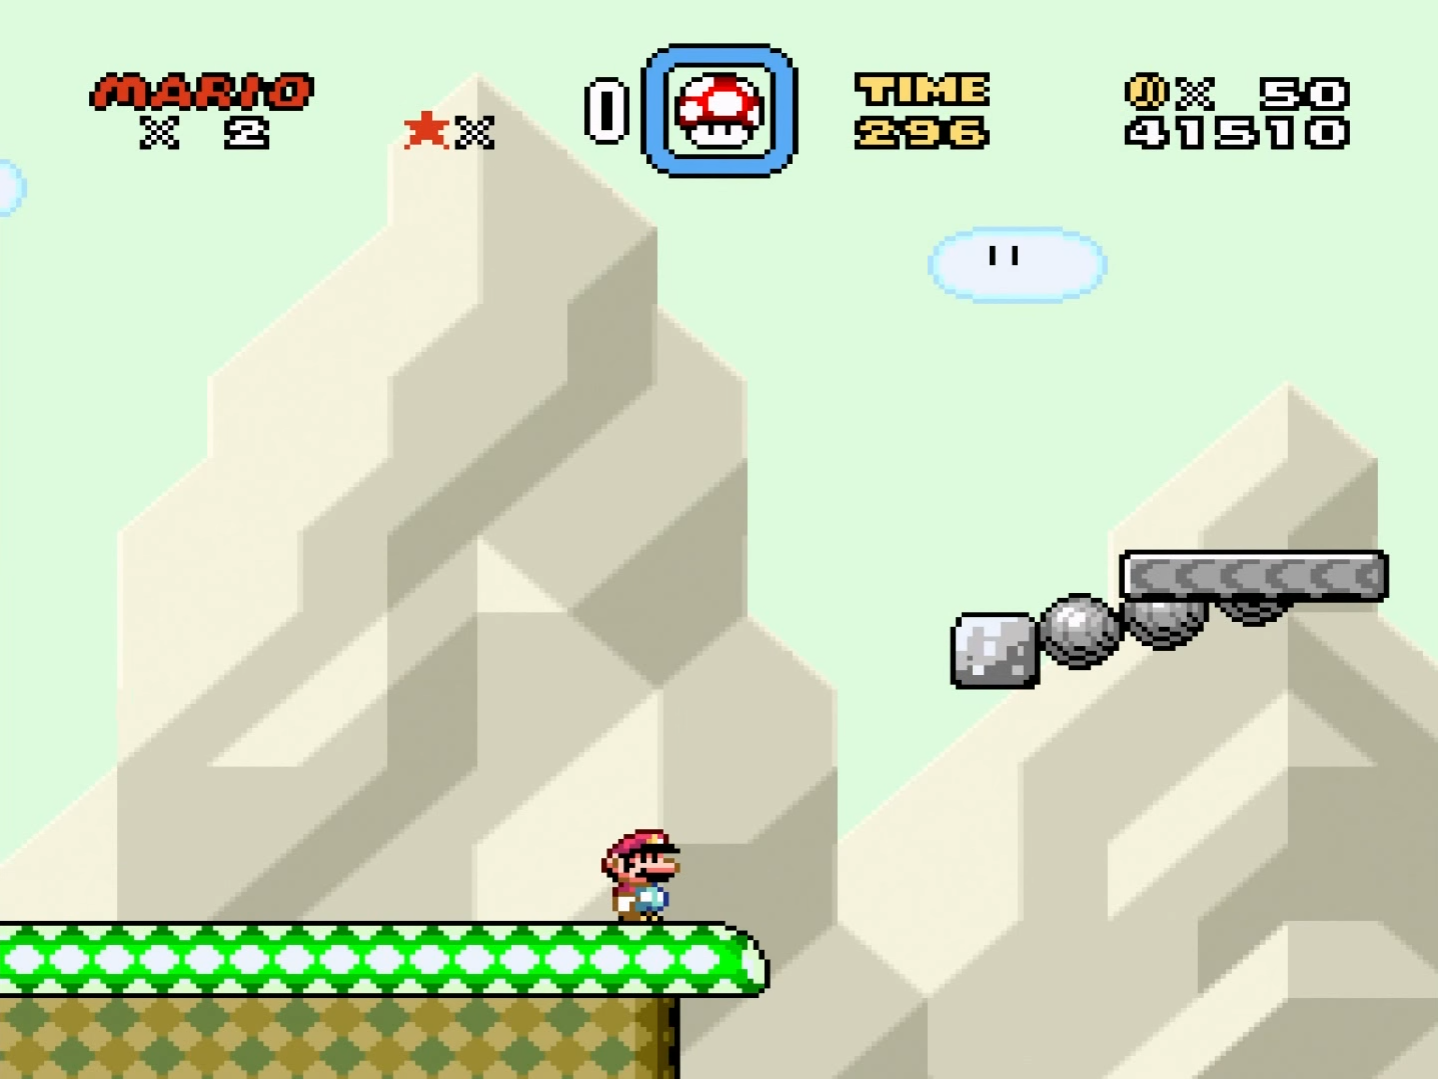
As always, things begin with the player acclimatizing in a relatively safe environment. You can easily hop onto the platform, and there's only one rotating platform between safe zones.
Right after, the challenge increases. Now a Koopa stands in the platform's center. This means cautious approach is necessary to avoid the enemy and not jump off its shell into the abyss.
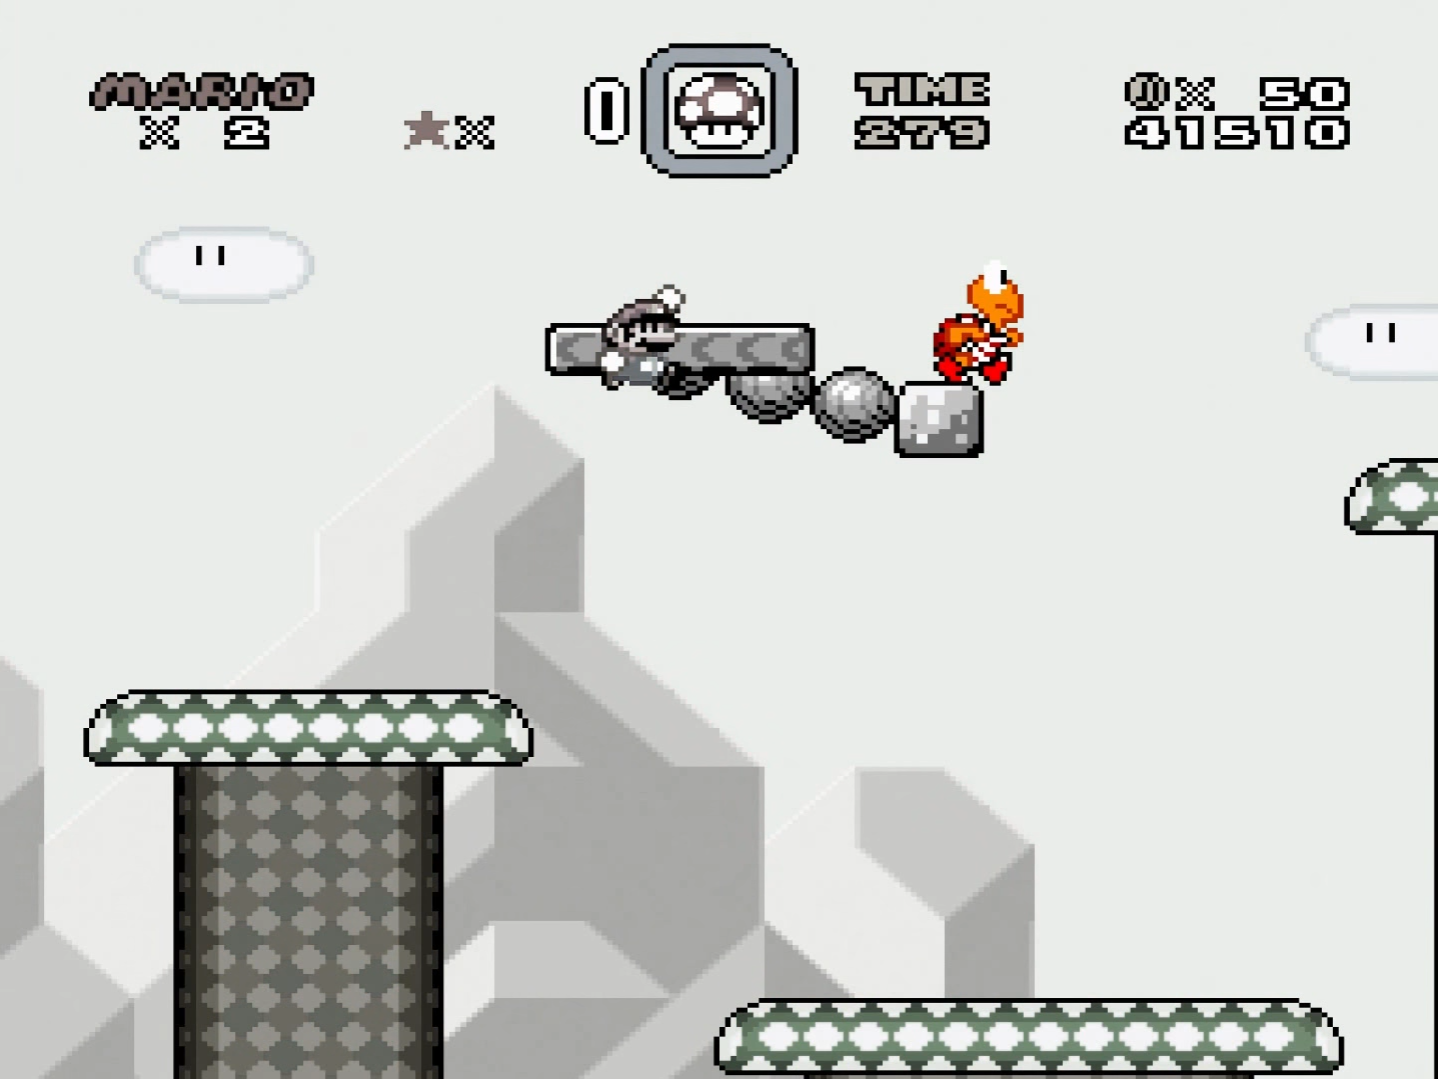
On the next stage, there are three rotating platforms between safe zones. The distance between the first and second is shorter than between the second and third. It's a small difference but noticeable.
The subsequent section has a player choice: jump down, kill a Koopa, hit a block for a power-up, or ignore this entirely and run on top. There are two unsynchronized platforms here—again, a small difference compared to other segments but adding complexity to the challenge.
Before us, a pipe arises. Like before, we need to decide if we dare to take the risk. Those who do are rewarded handsomely: not just a bunch of coins but a fun and interesting mini-game. Mario levels are all about balancing danger and pure fun moments and offering worthwhile rewards for risk. More risk is involved than it might seem—by entering this pipe, you miss a mid-level checkpoint.
Speaking of which, the checkpoint we're talking about is mockingly suspended in the air. You can only reach it by taking the tough route and landing on a tiny platform at the end.
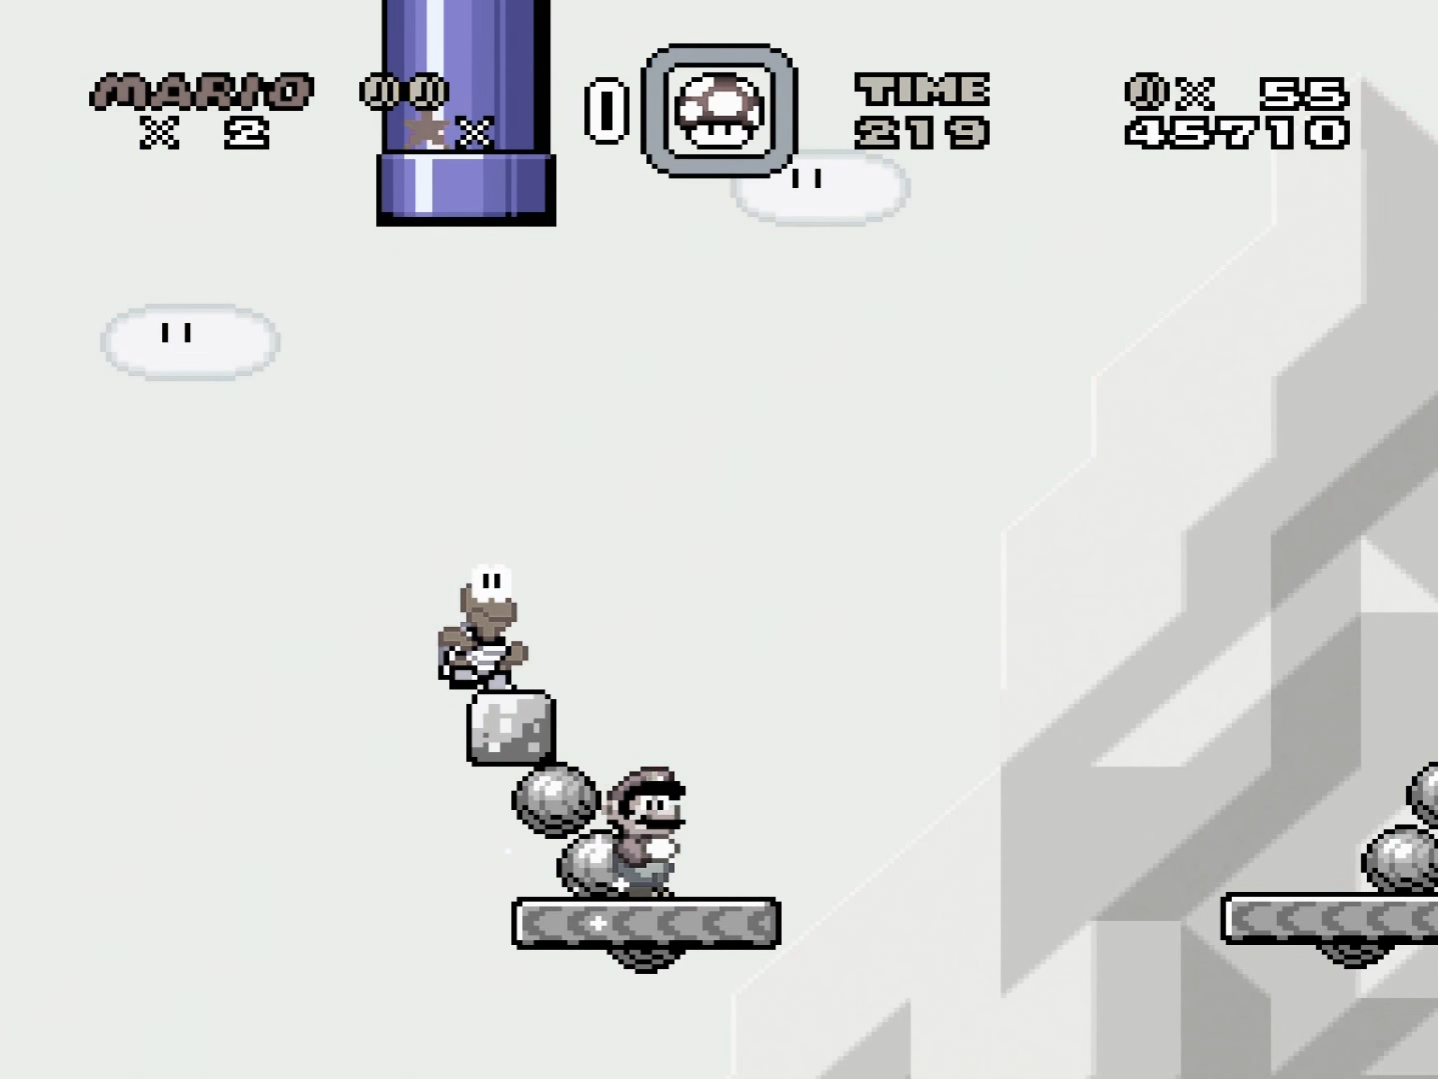
A few jumps later, the challenge steps up again. Now, instead of Koopas in the center of rotating platforms, there are Fuzzies. They move not only on top but under the platform, forcing Mario to duck at the lowest point of platform movement.
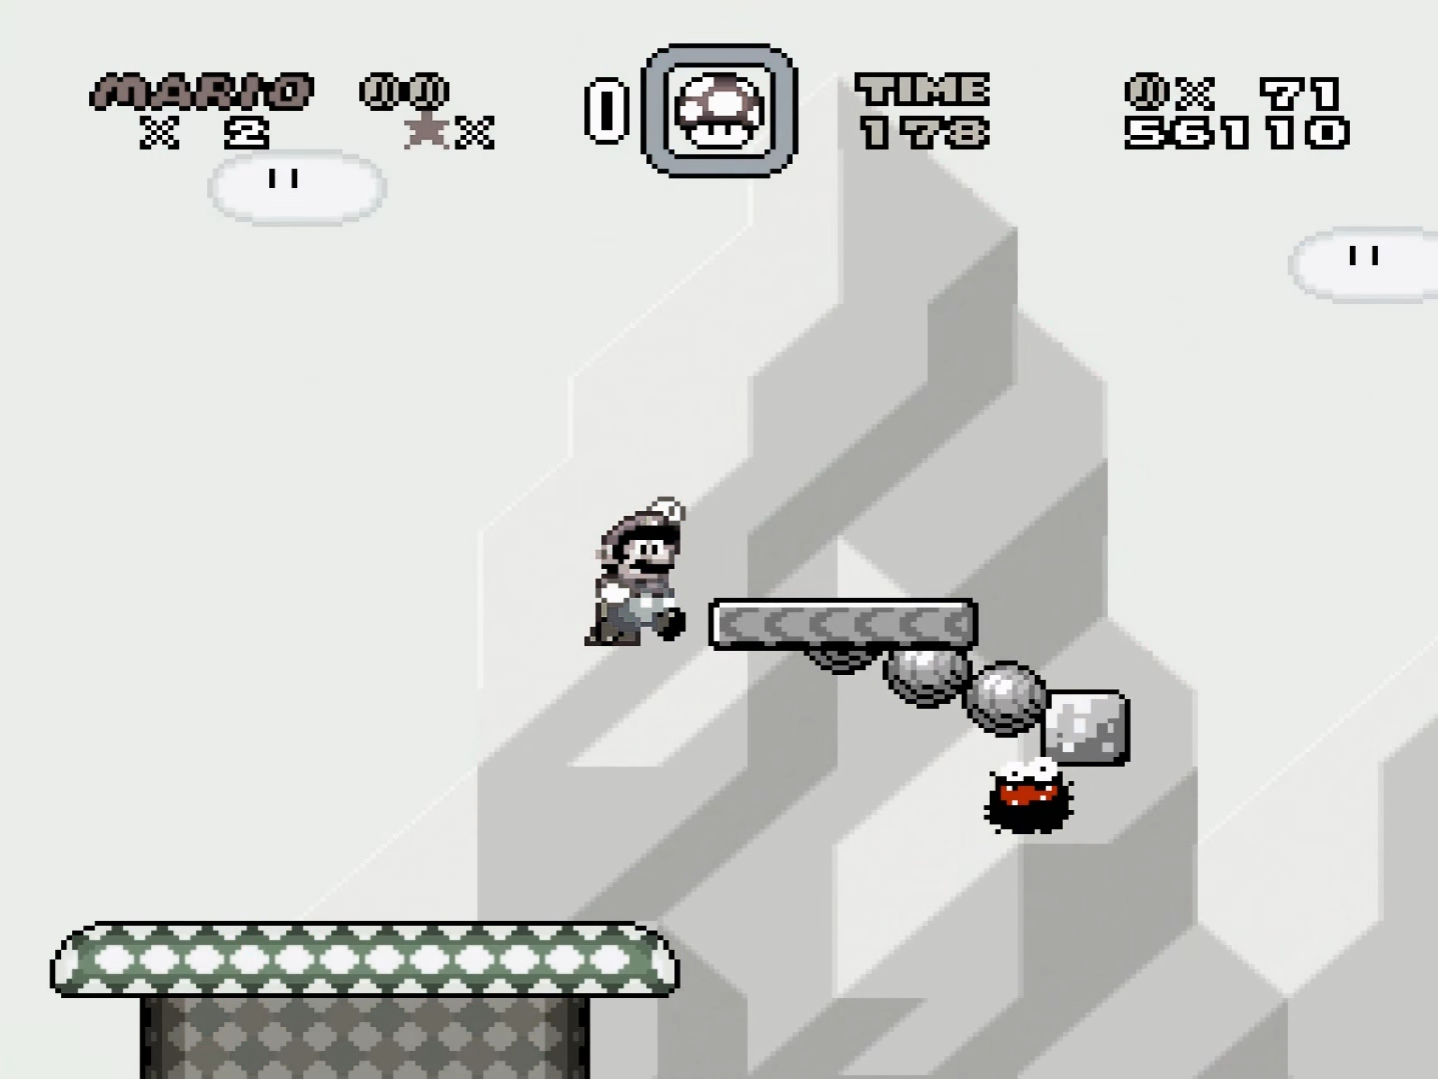
And here's the impressive finale. From one safe zone to another—six platforms, some moving asynchronously. Almost each has Fuzzies in the center, a block with a question mark, and two Koopas to reward the brave players. And a Koopa Paratroopa—the snatcher.
Finally, using vine and the last reminder of the level's core mechanic, we complete the stage.
Now we get to Super Mario Bros. The levels in this game are slightly simpler, as Nintendo was still defining its style at the time. Moreover, all the enemies and challenges were novel to players—meaning even Piranha Plants could surprise, which isn't the case today.
But there's still learning potential in this game. And we aren't just discussing level 1-1, arguably the most analyzed level in gaming history.
Let me share what I like and dislike about level 8-2.
In this level, we meet Lakitu, a type of Koopa that flies on clouds, and are instantly in danger. Immediately, we have to avoid Lakitu, a Spiny, and a Koopa Paratroopa on a broken staircase.
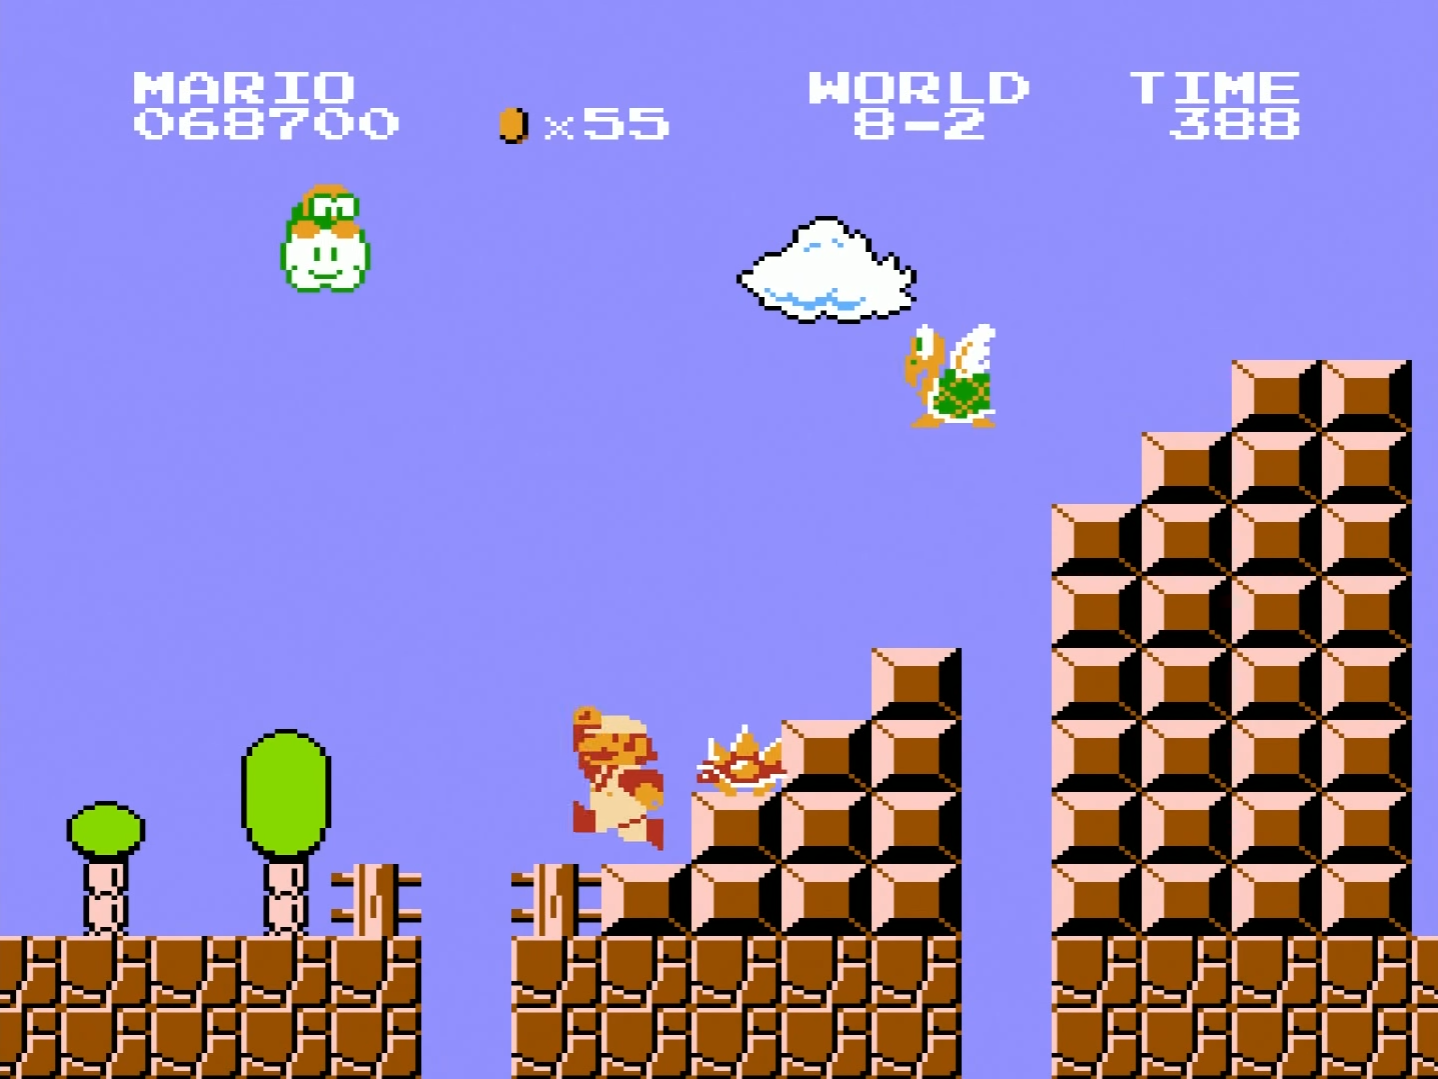
However, we find ourselves in a position where it's quite easy to kill Lakitu—an enemy that troubled us greatly. It reminds me of a moment in Half-Life 2 when you finally bring down an annoying helicopter.
Here comes a moment worth highlighting. You jump on a spring—why not?—and knock a mushroom from a block of bricks. But you're unable to catch it, forcing you to give chase. One eye keeps tabs on the mushroom above, while the other watches pits and enemies ahead.
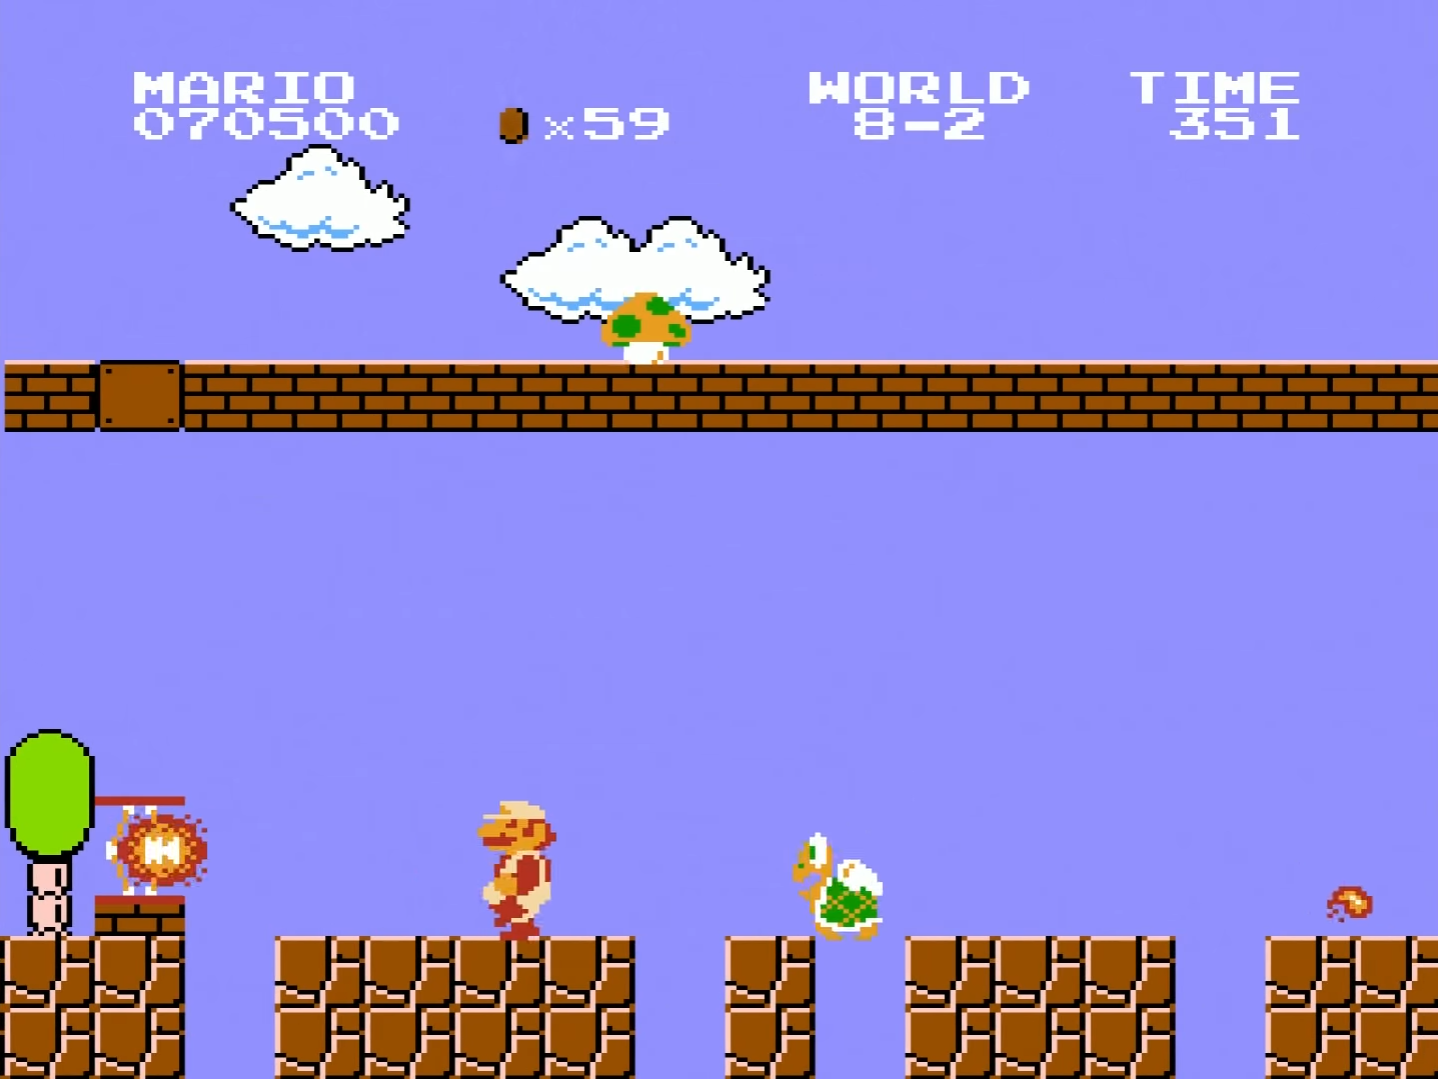
This is another example of how players are pushed to move faster, even if just briefly, to infuse the game with fun and speed.
The next segment features cannons. But if you're a fan of platformers, you'll realize they can be bypassed by staying on the top tier (at least until a top cannon disrupts your plans).
The next part is weak overall. Players just need to make a long jump. You might lose a life, but there's no real challenge here.
Following this is a fairly tough section, though the obstacles are straightforward. They're just common enemies we've faced before, strategically placed to demand precision jumping from the player.
Near the end, we see a reminder of the first staircase from the beginning, except with more gaps.
Now, before I discuss how I worked on my first level in Mario Maker, let's recap what we've learned.
A typical Mario level features one or two mechanics that gradually evolve, so difficulty imperceptibly increases. For instance, the distance between platforms may extend, or it may be harder to time jumps correctly. Safe zone distances might increase, enemies could complicate jumps or block paths, or mechanics might transform completely—escalating complexity and reducing safety nets.
To direct players through a level in a specific way, coins may be used. Bonuses can entice players to take risks.
To make players accelerate, even if briefly, introduce time-sensitive content. Something fun and interesting can serve as a reward or a breather between tough challenges.
Now let's return to what I ultimately created.
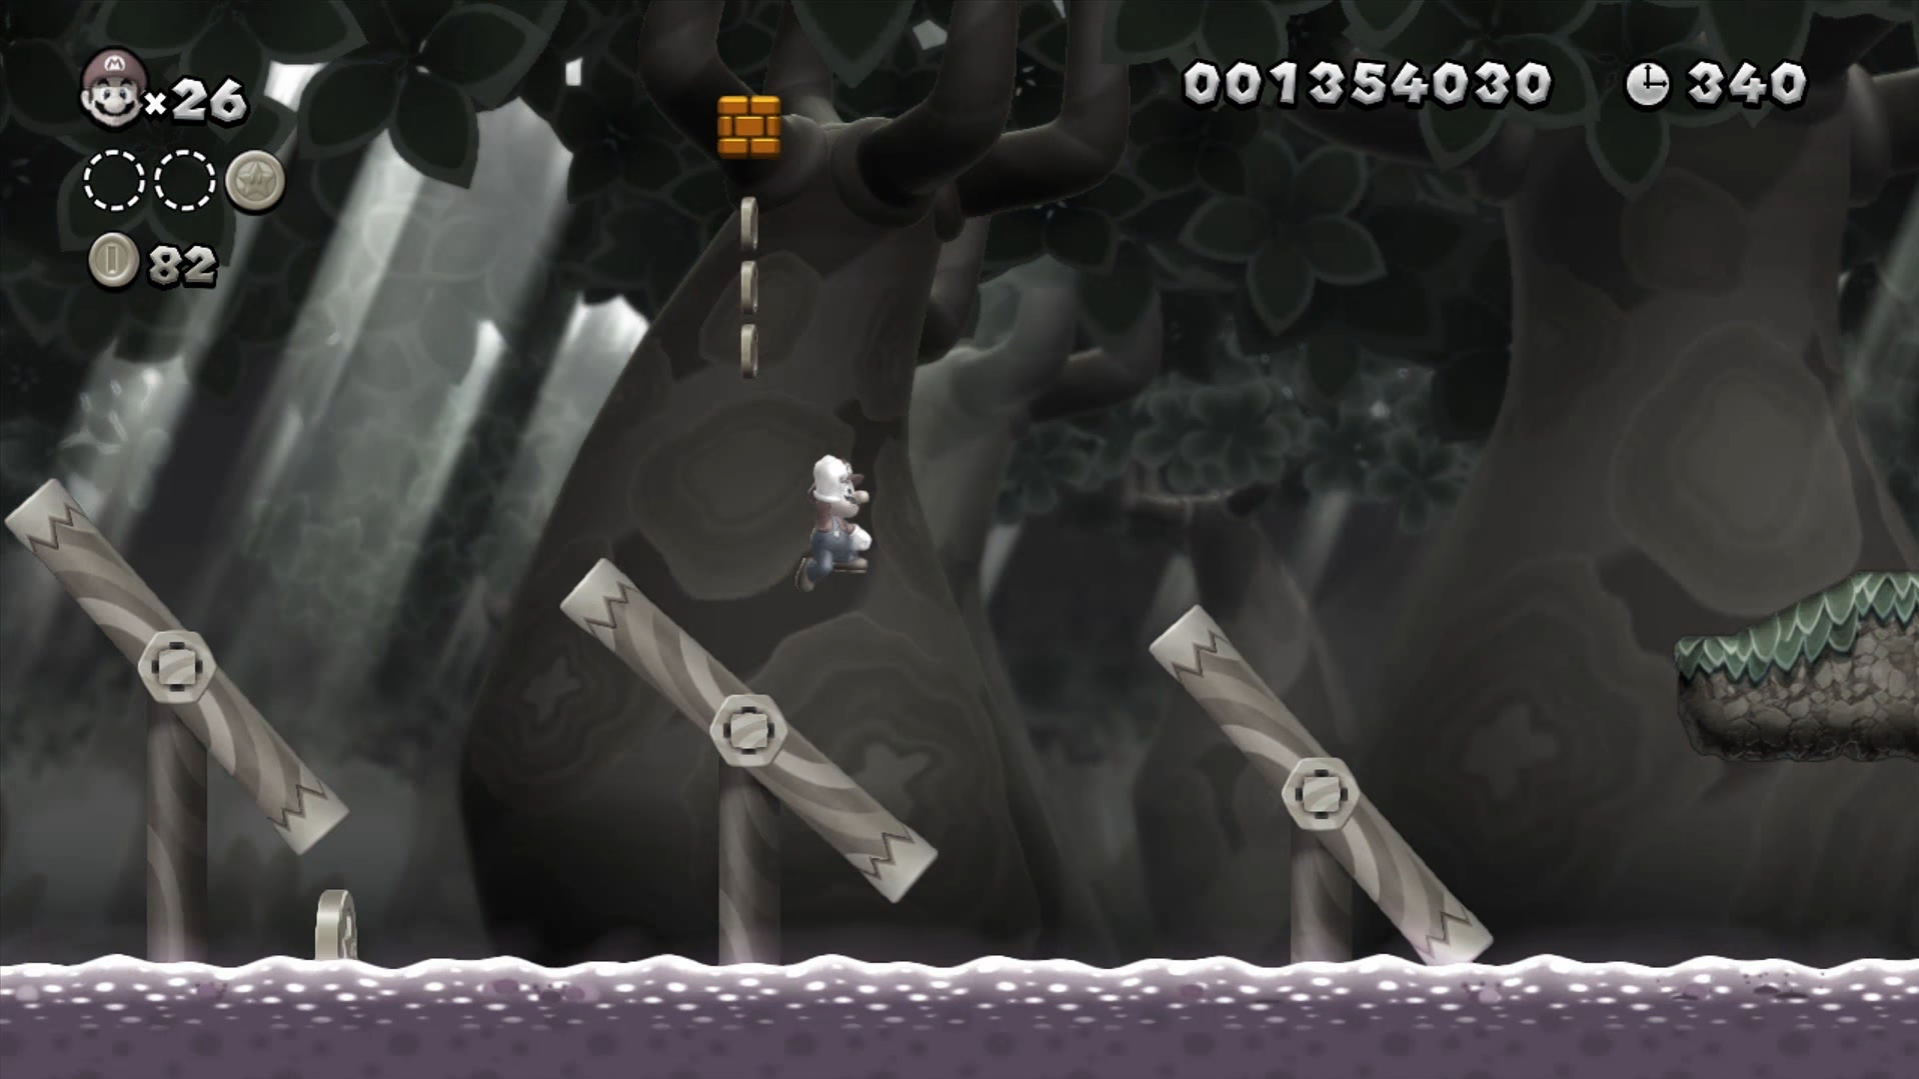
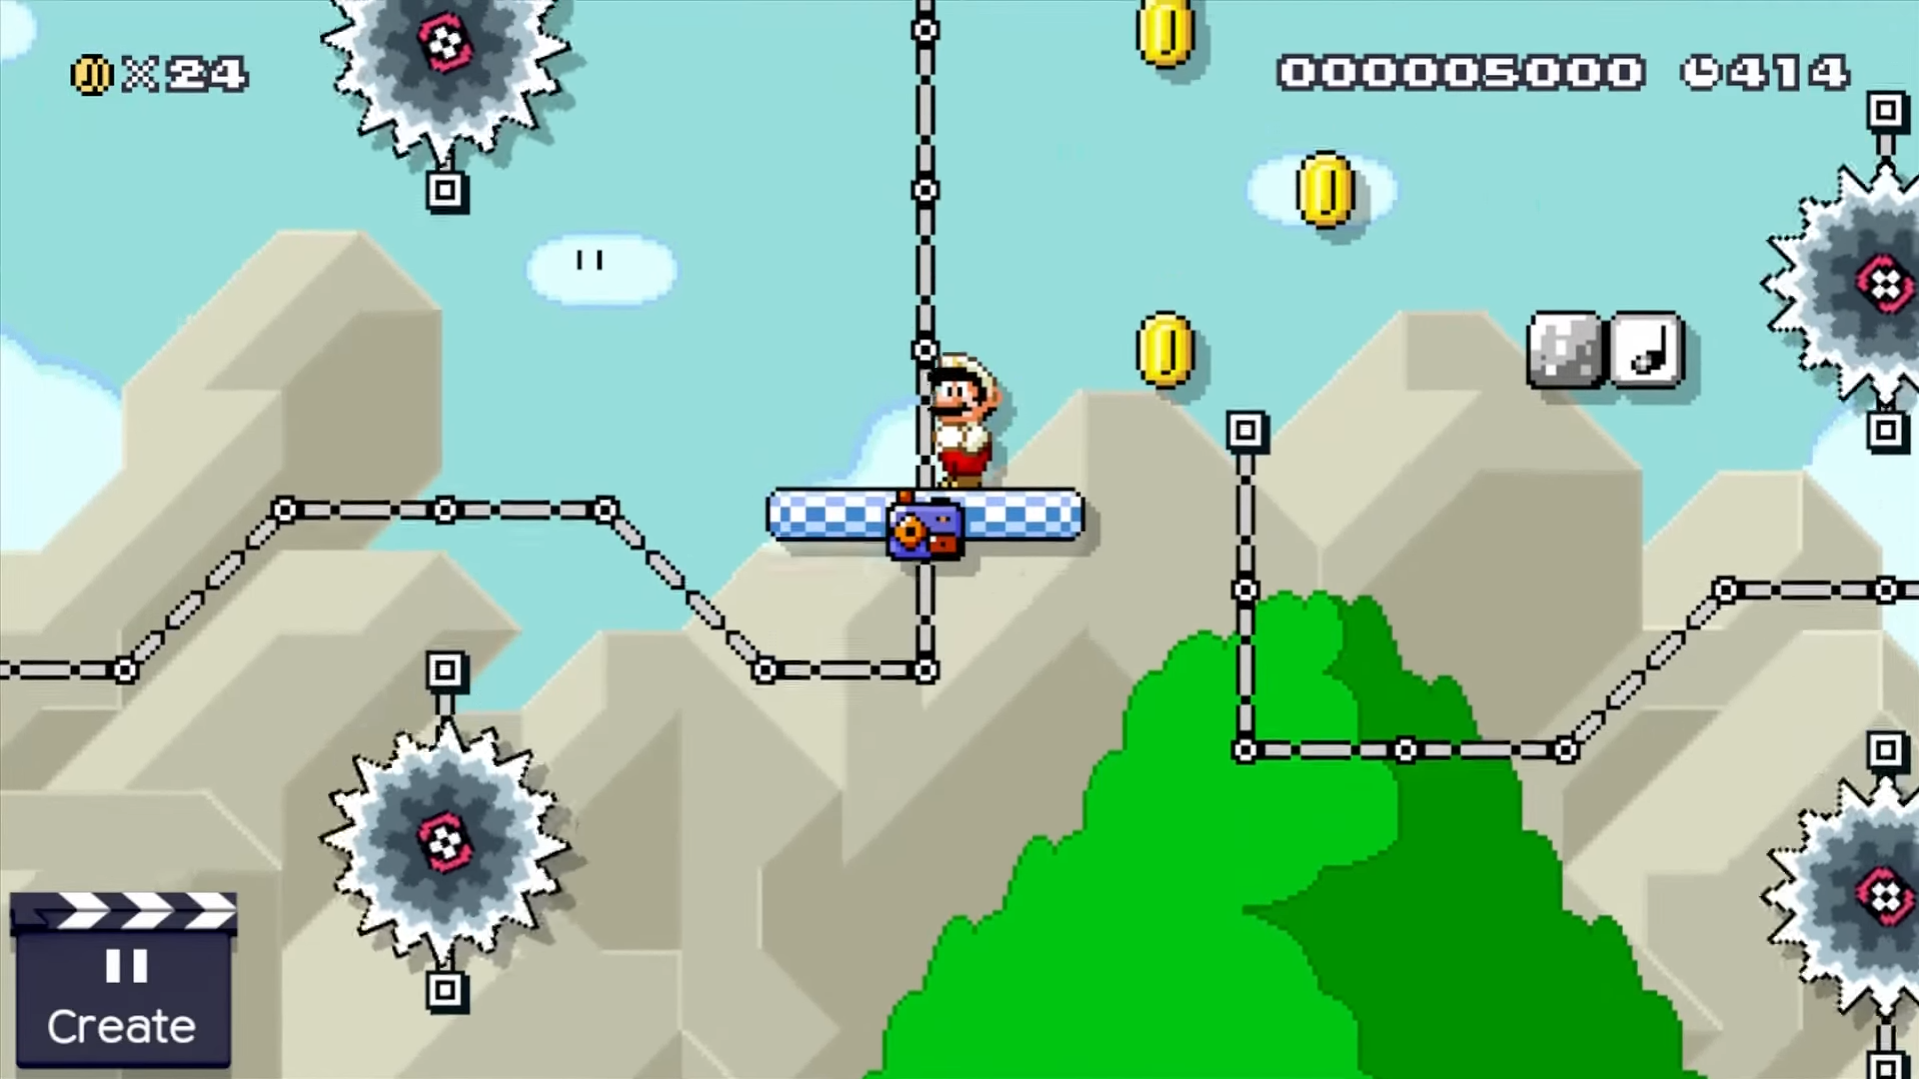
Perhaps the most significant limitation in Mario Maker is the inability to create entirely new devices. You're only working with what's provided. I didn't design the platforms that move along rails, but I attempted to find unique ways to utilize them.
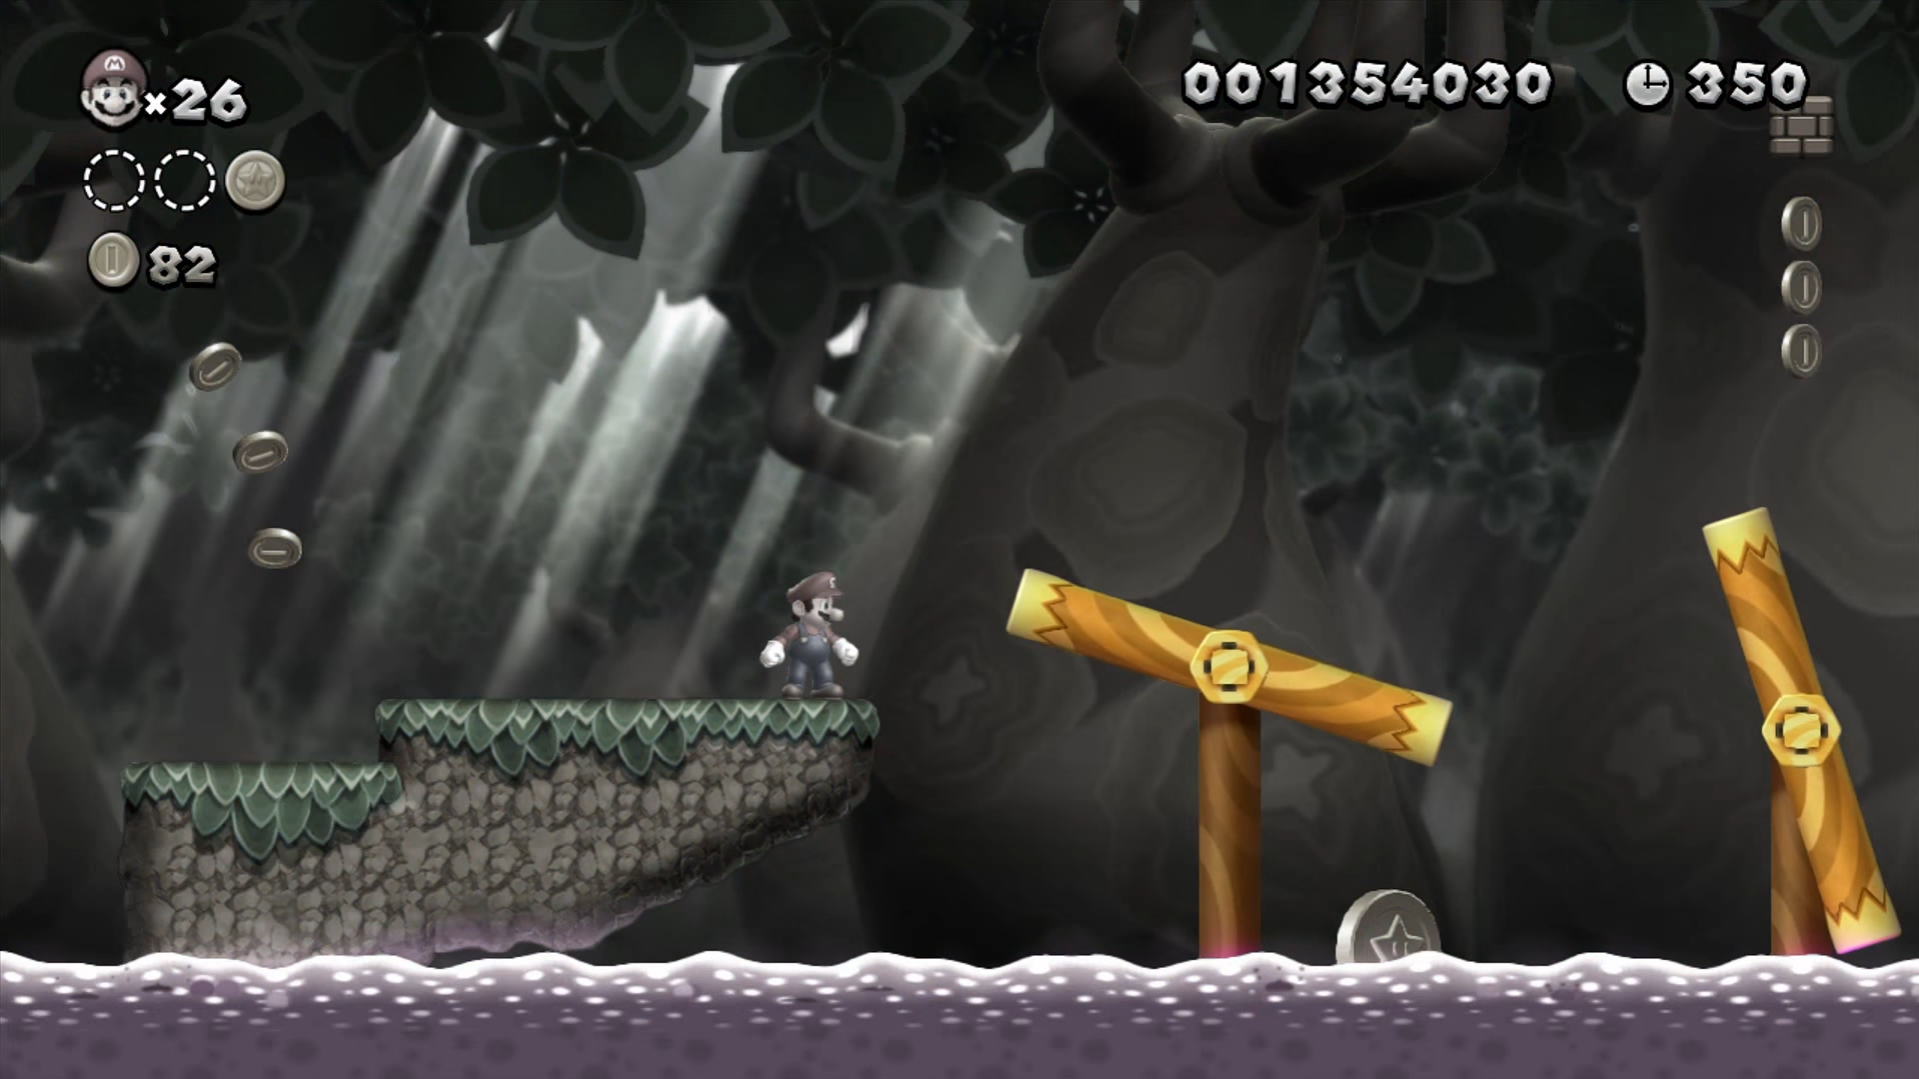
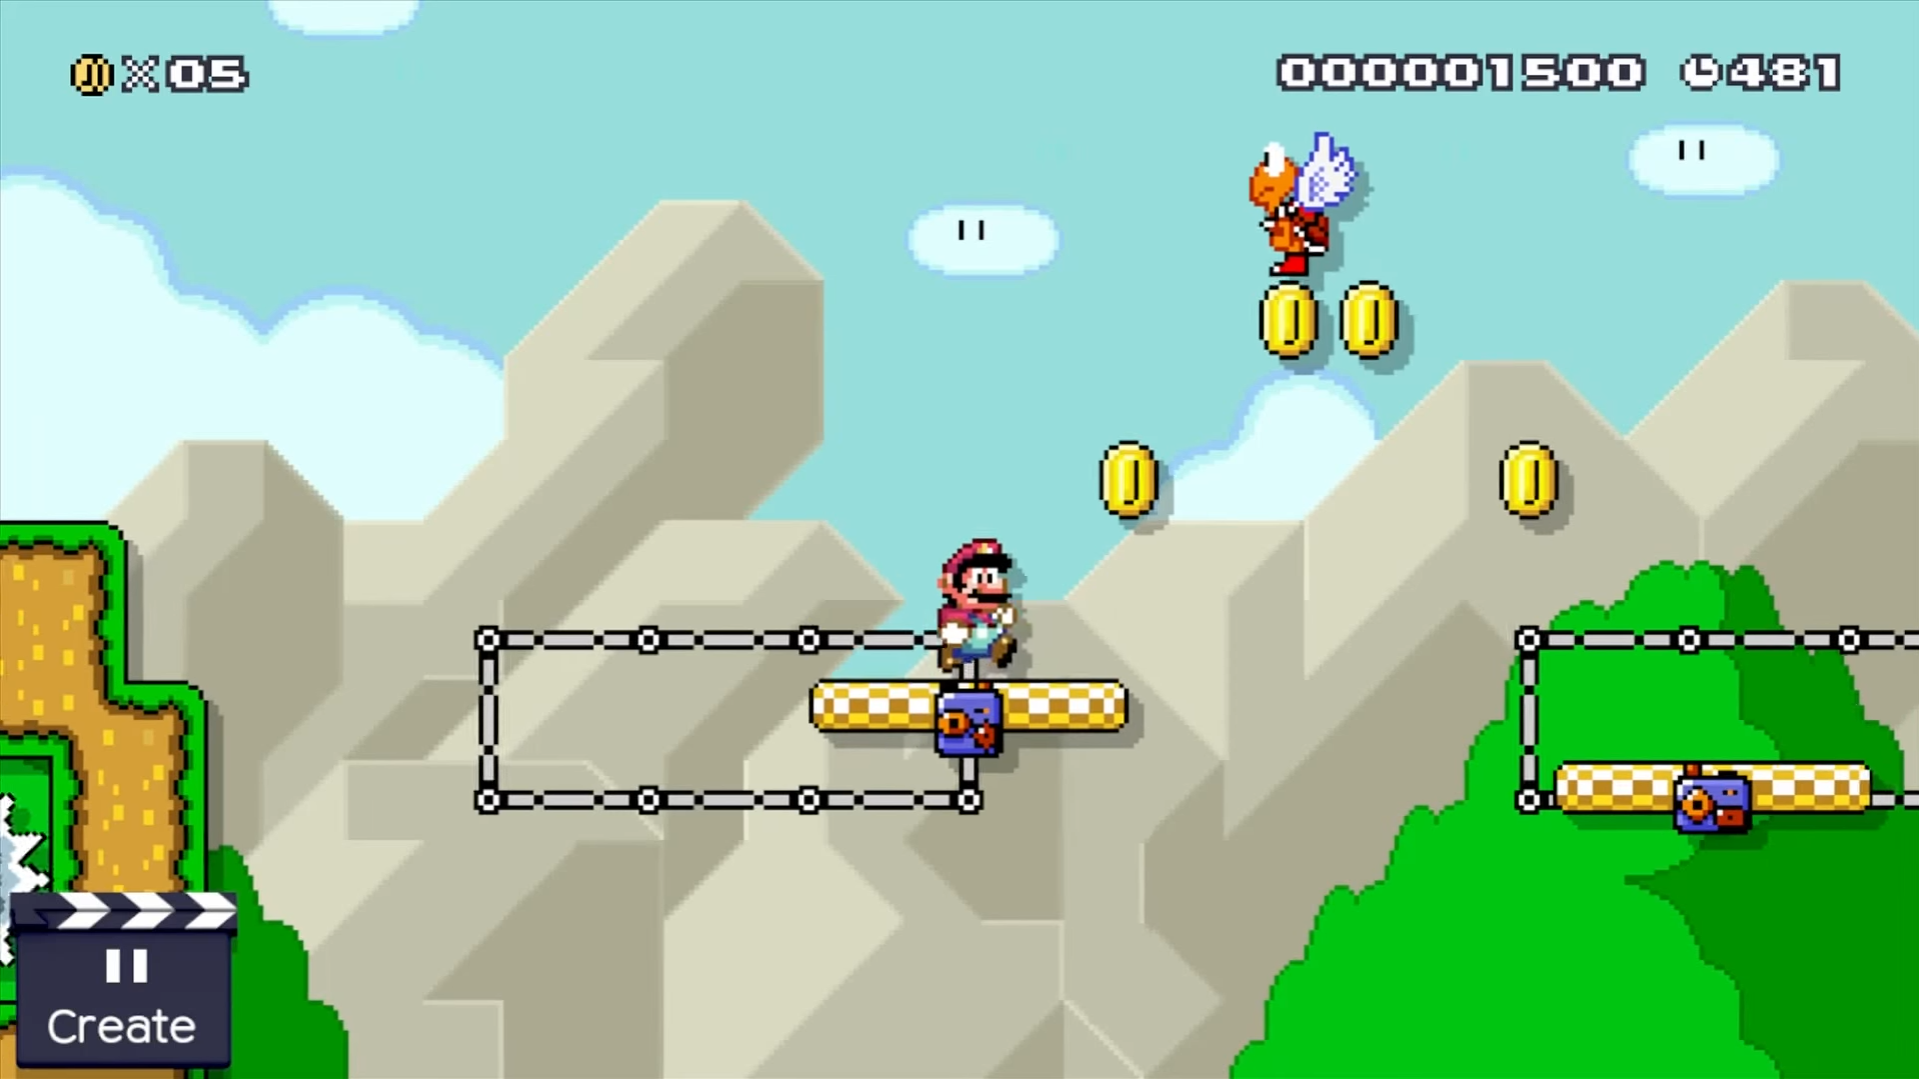
At the beginning of the level, we learn how the platforms work in a safe zone. If a character falls, a safety net—a stationary surface below—allows for retries.
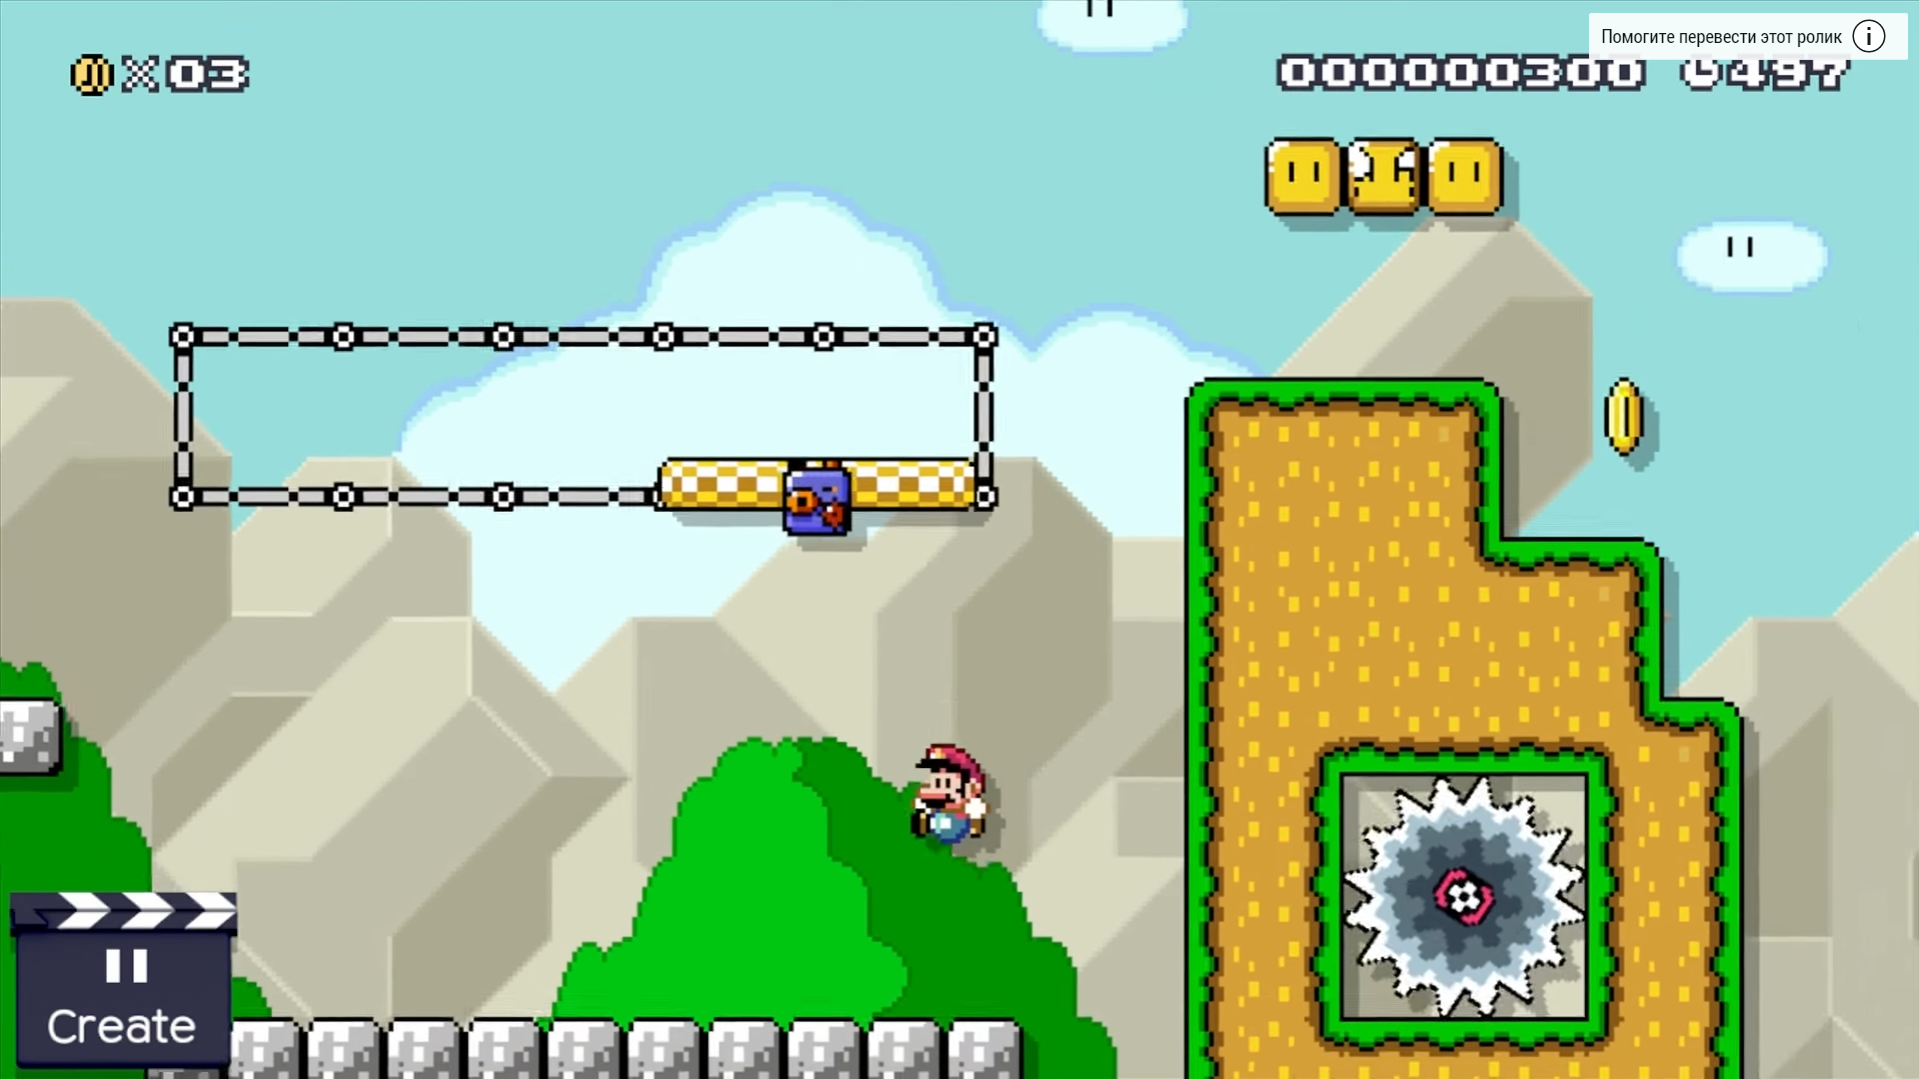
Next, the player gets a 1-Up, with a clue about what's to come (hint: it's saws).
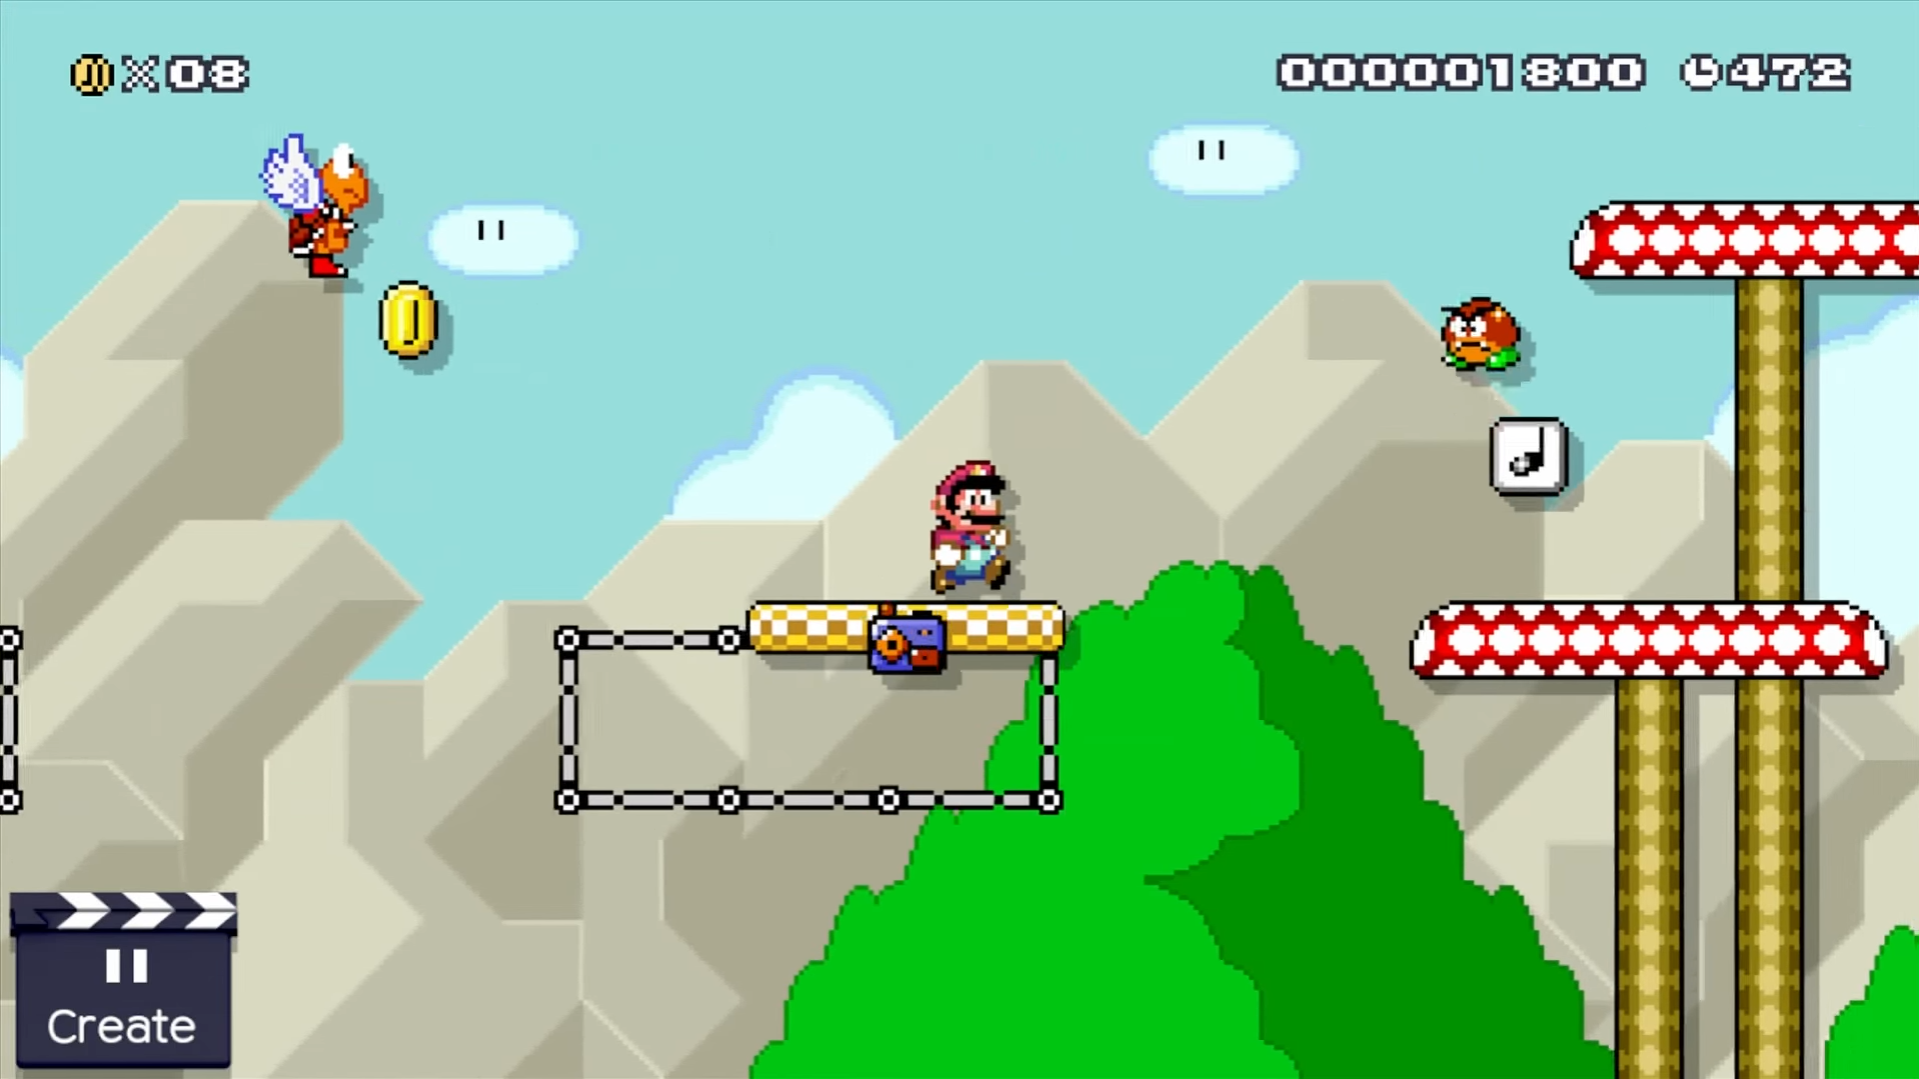
The mechanics become more complex. The player has to jump between two platforms while also avoiding snatchers.
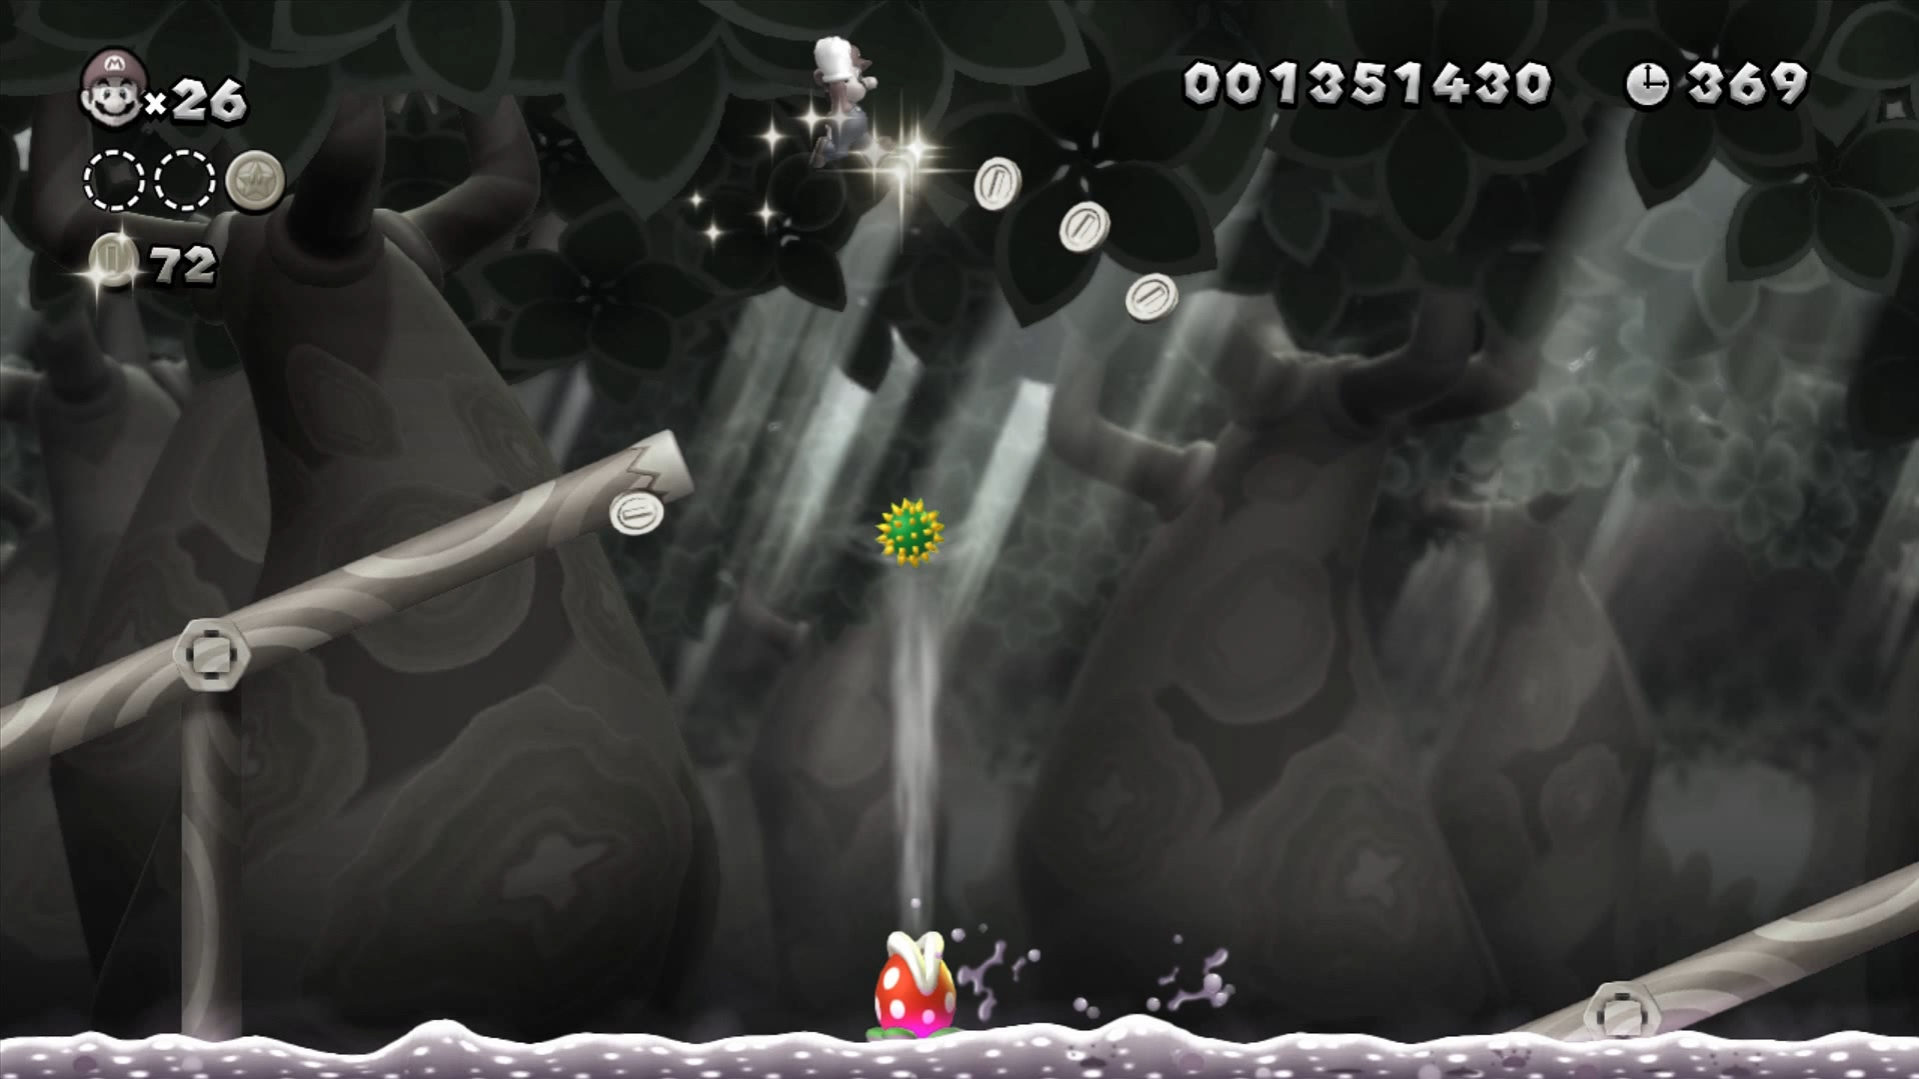
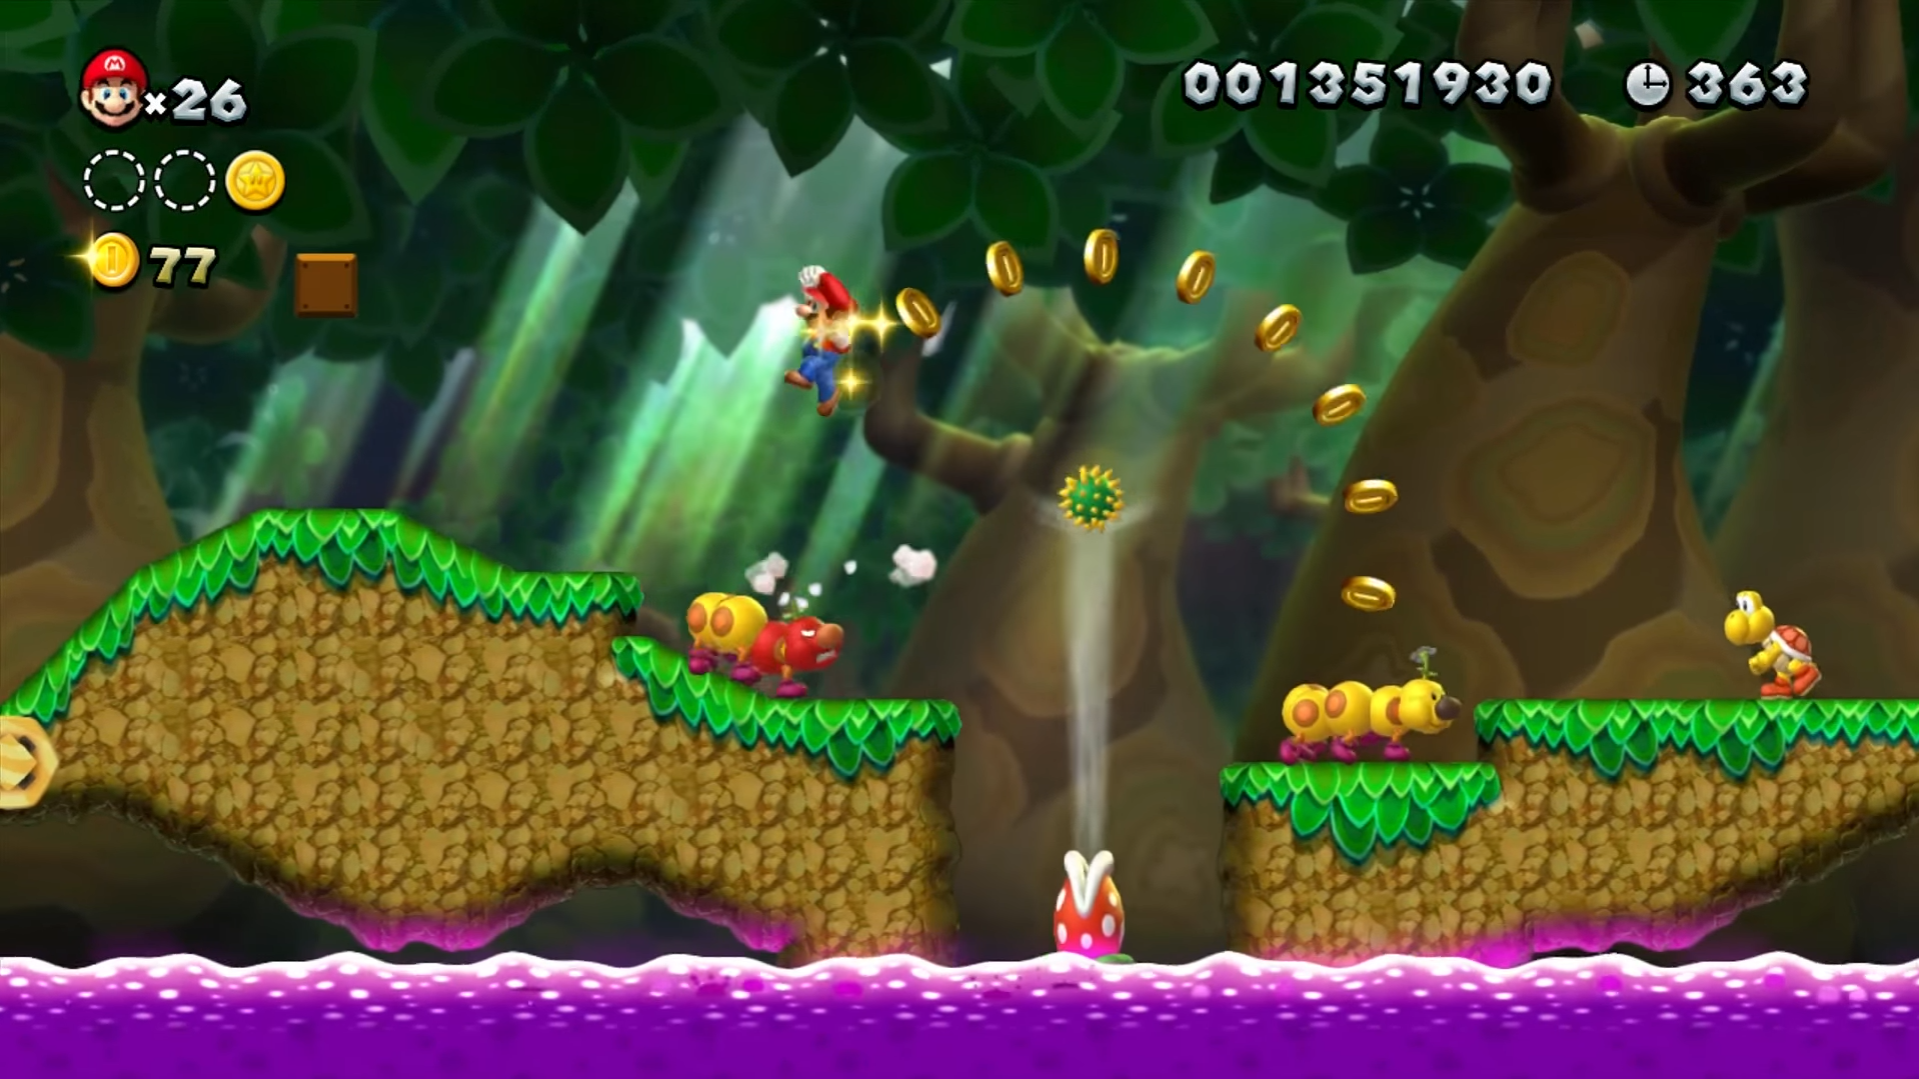
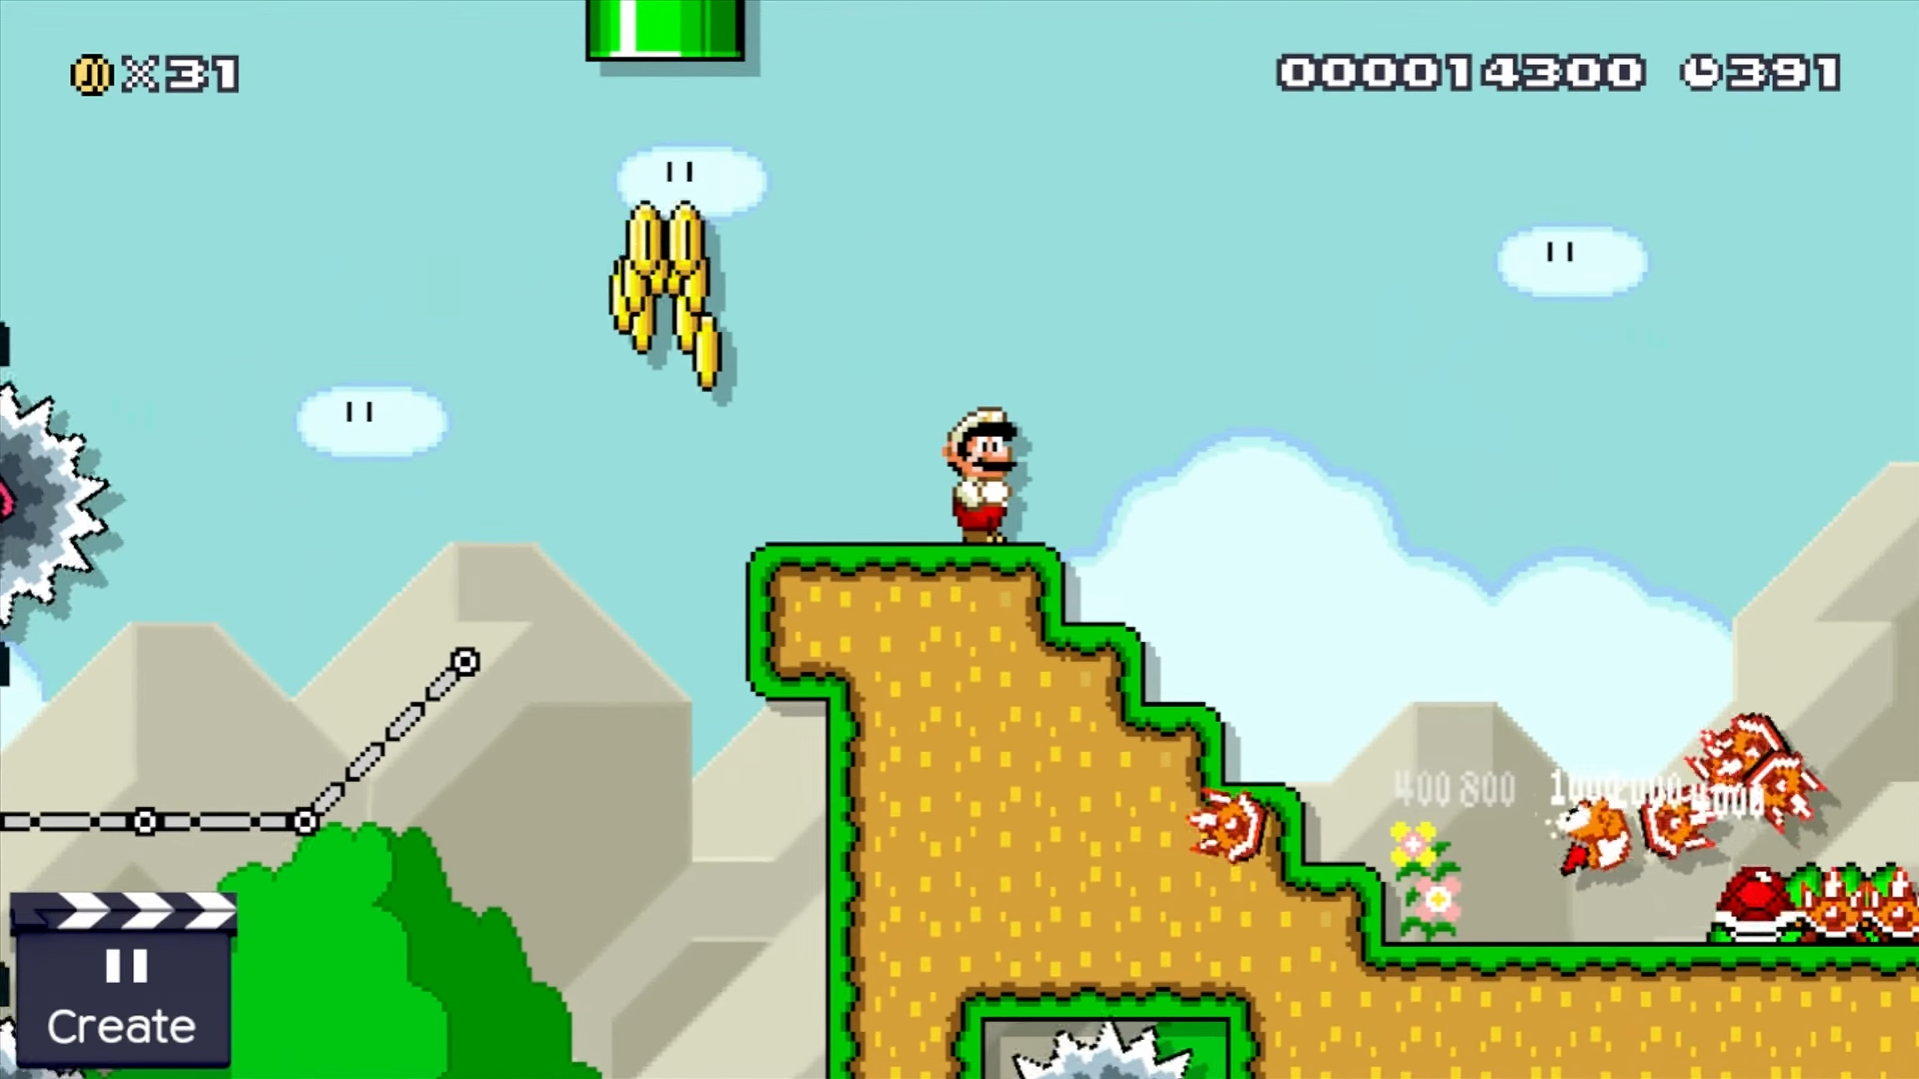
In the next segment, the player sees a Goomba bouncing off a music box suspended in mid-air. It looks a bit odd, I'll admit. A random discovery, but I liked it, so I kept it.
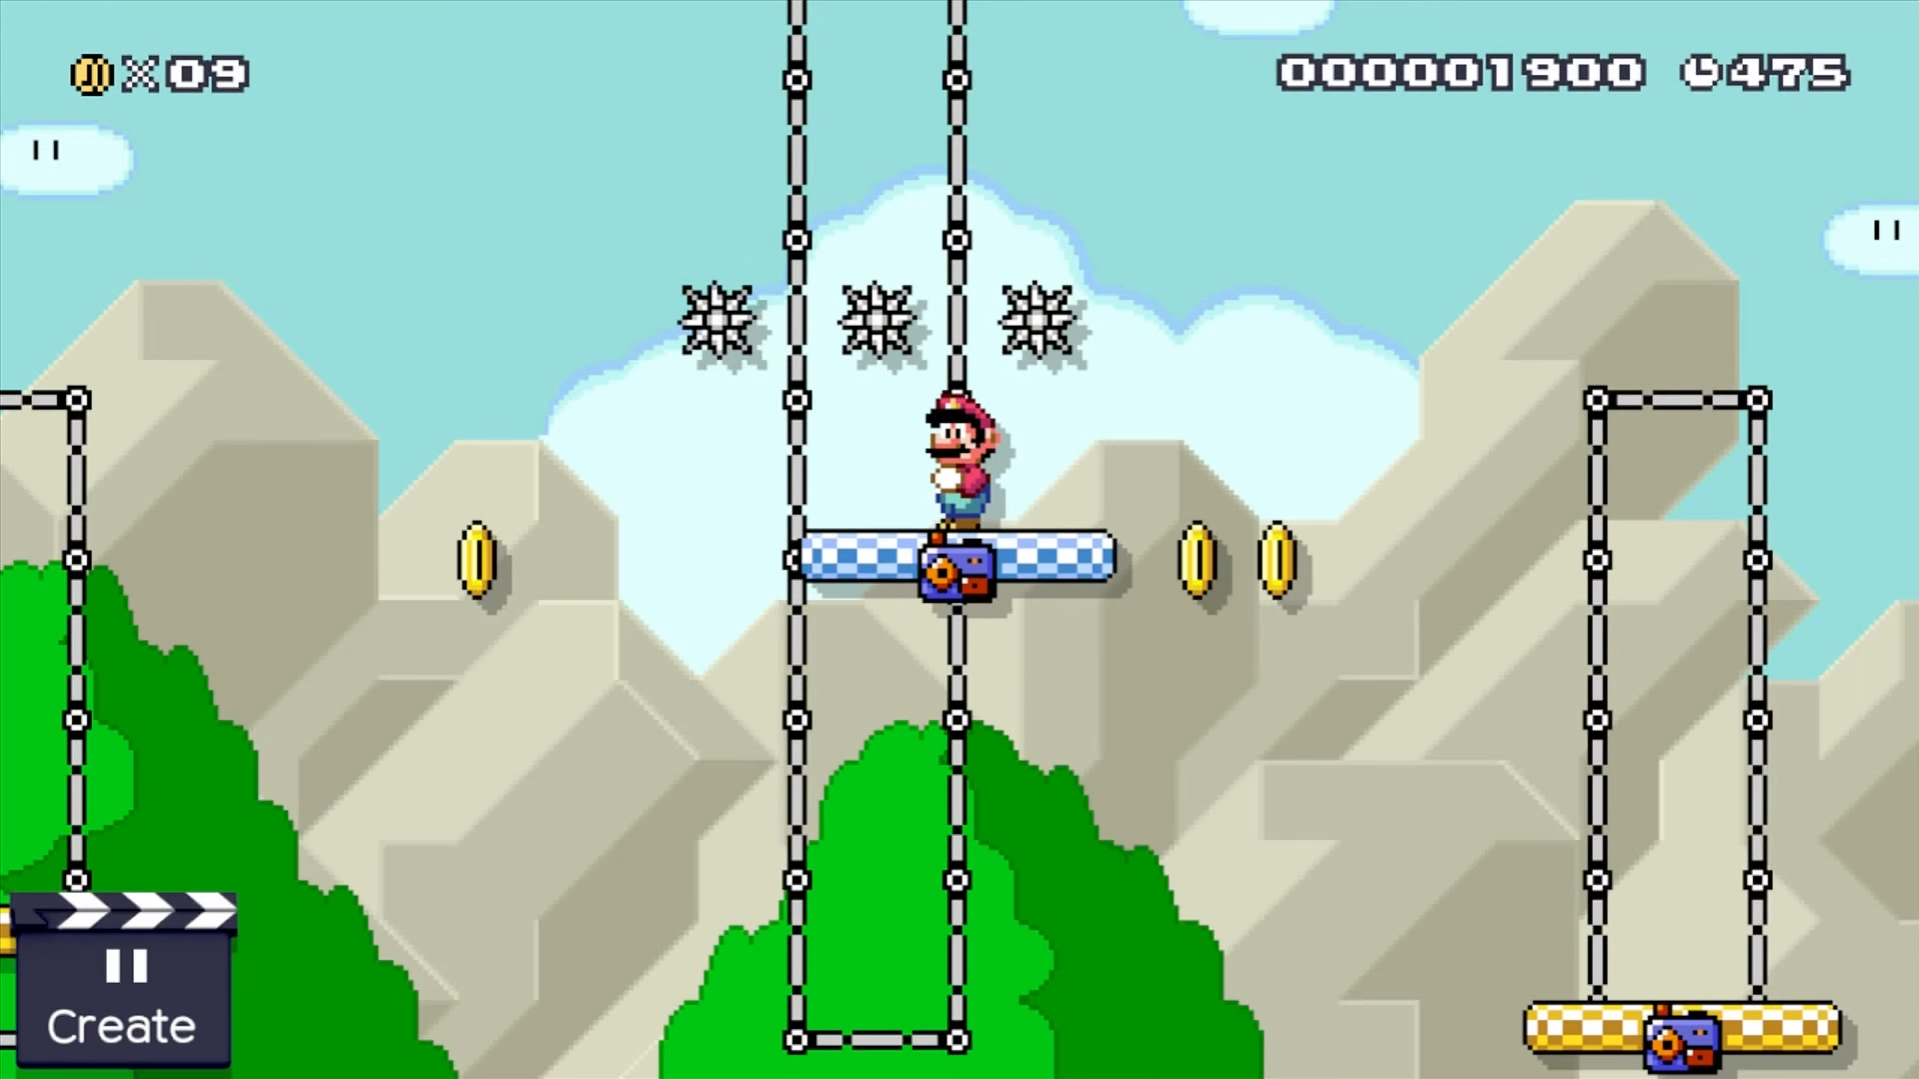
Then there are three moving platforms in a row. Here, players have a choice: opt for a safer route to move forward or choose the riskier option to ascension past spikes? Choosing the latter includes a brief obstacle course: bullets, falling donut platforms, and spikes.
Then comes a box with a life-giving mushroom—a concept borrowed entirely from Super Mario Bros. But I incorporated spikes to align it with the rest of the level. If players hurry, they'll earn an extra life. If not, the mushroom falls onto the spikes.
Regardless, at the segment's end, players encounter another door leading back to the main level.
Below awaits a Koopa on a small platform. Incidentally, I chose mushroom-shaped platforms because they have similar properties to regular ground but appear less stable. And perhaps I've succeeded.
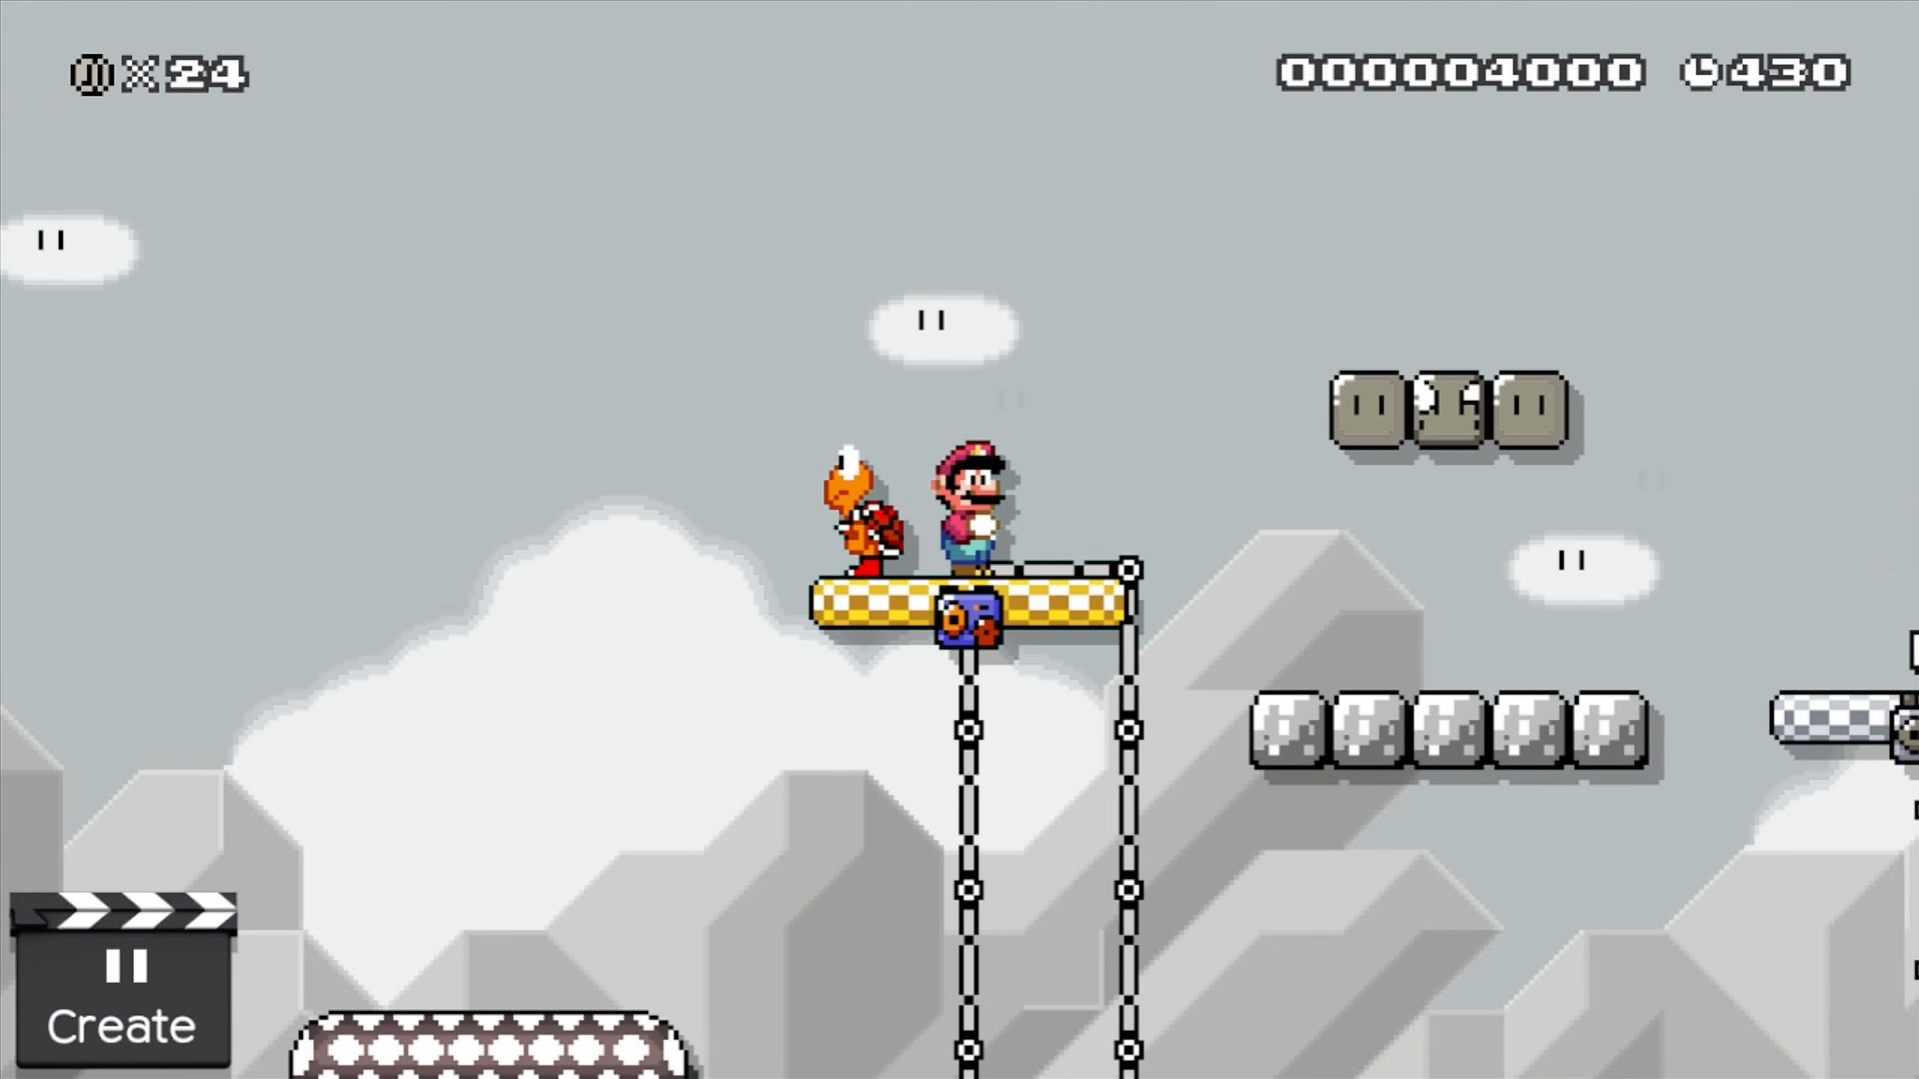
Players then deal with flamethrowers. I deliberately designed the platform to slowly descend on them—giving players time to understand how they work. Players can bypass the obstacle from above by jumping on boxes, one marked with a question mark. Without doing so, you'll miss out on what's inside! It's a feather, by the way (one of the power-ups).
Next is a safe zone... relatively speaking, as a Koopa may climb onto the platform with the player. I didn't plan for this. Still, I like how it turned out and that it can happen accidentally, so the Koopa stays.
The next segment prepares players for what's upcoming (again with saws). It's actually a warning. Saws won't kill the hero—they leave space for his sprite, as long as he isn't jumping. But in the following stage, they certainly could.
To pass the following part, you'll need to climb on a box with a note and jump over the blade. Timing the jump with the platform's movement is challenging.
Next, coins begin to fall near the player. I decided to troll players slightly with them. The true reward is the chance to push a Koopa shell down the stairs, take out a bunch of Spinies, and gain a heap of extra lives. A disk saw embedded in the ground references the level's start.
And finally, the player faces a final choice: take the easier route to the exit or traverse the treacherous saw path for an extra life.
And here it is, my very first level in Mario Maker. I'm satisfied with it. It's not perfect and might be a tad simple. The notebox jump could've been tougher, and missing the chase for an extra life is hard when the bullets are slow.
Overall, though, I believe it was a success. The level adheres to the principles observed in analyzing Mario games.
Translated by Irina Smirnova